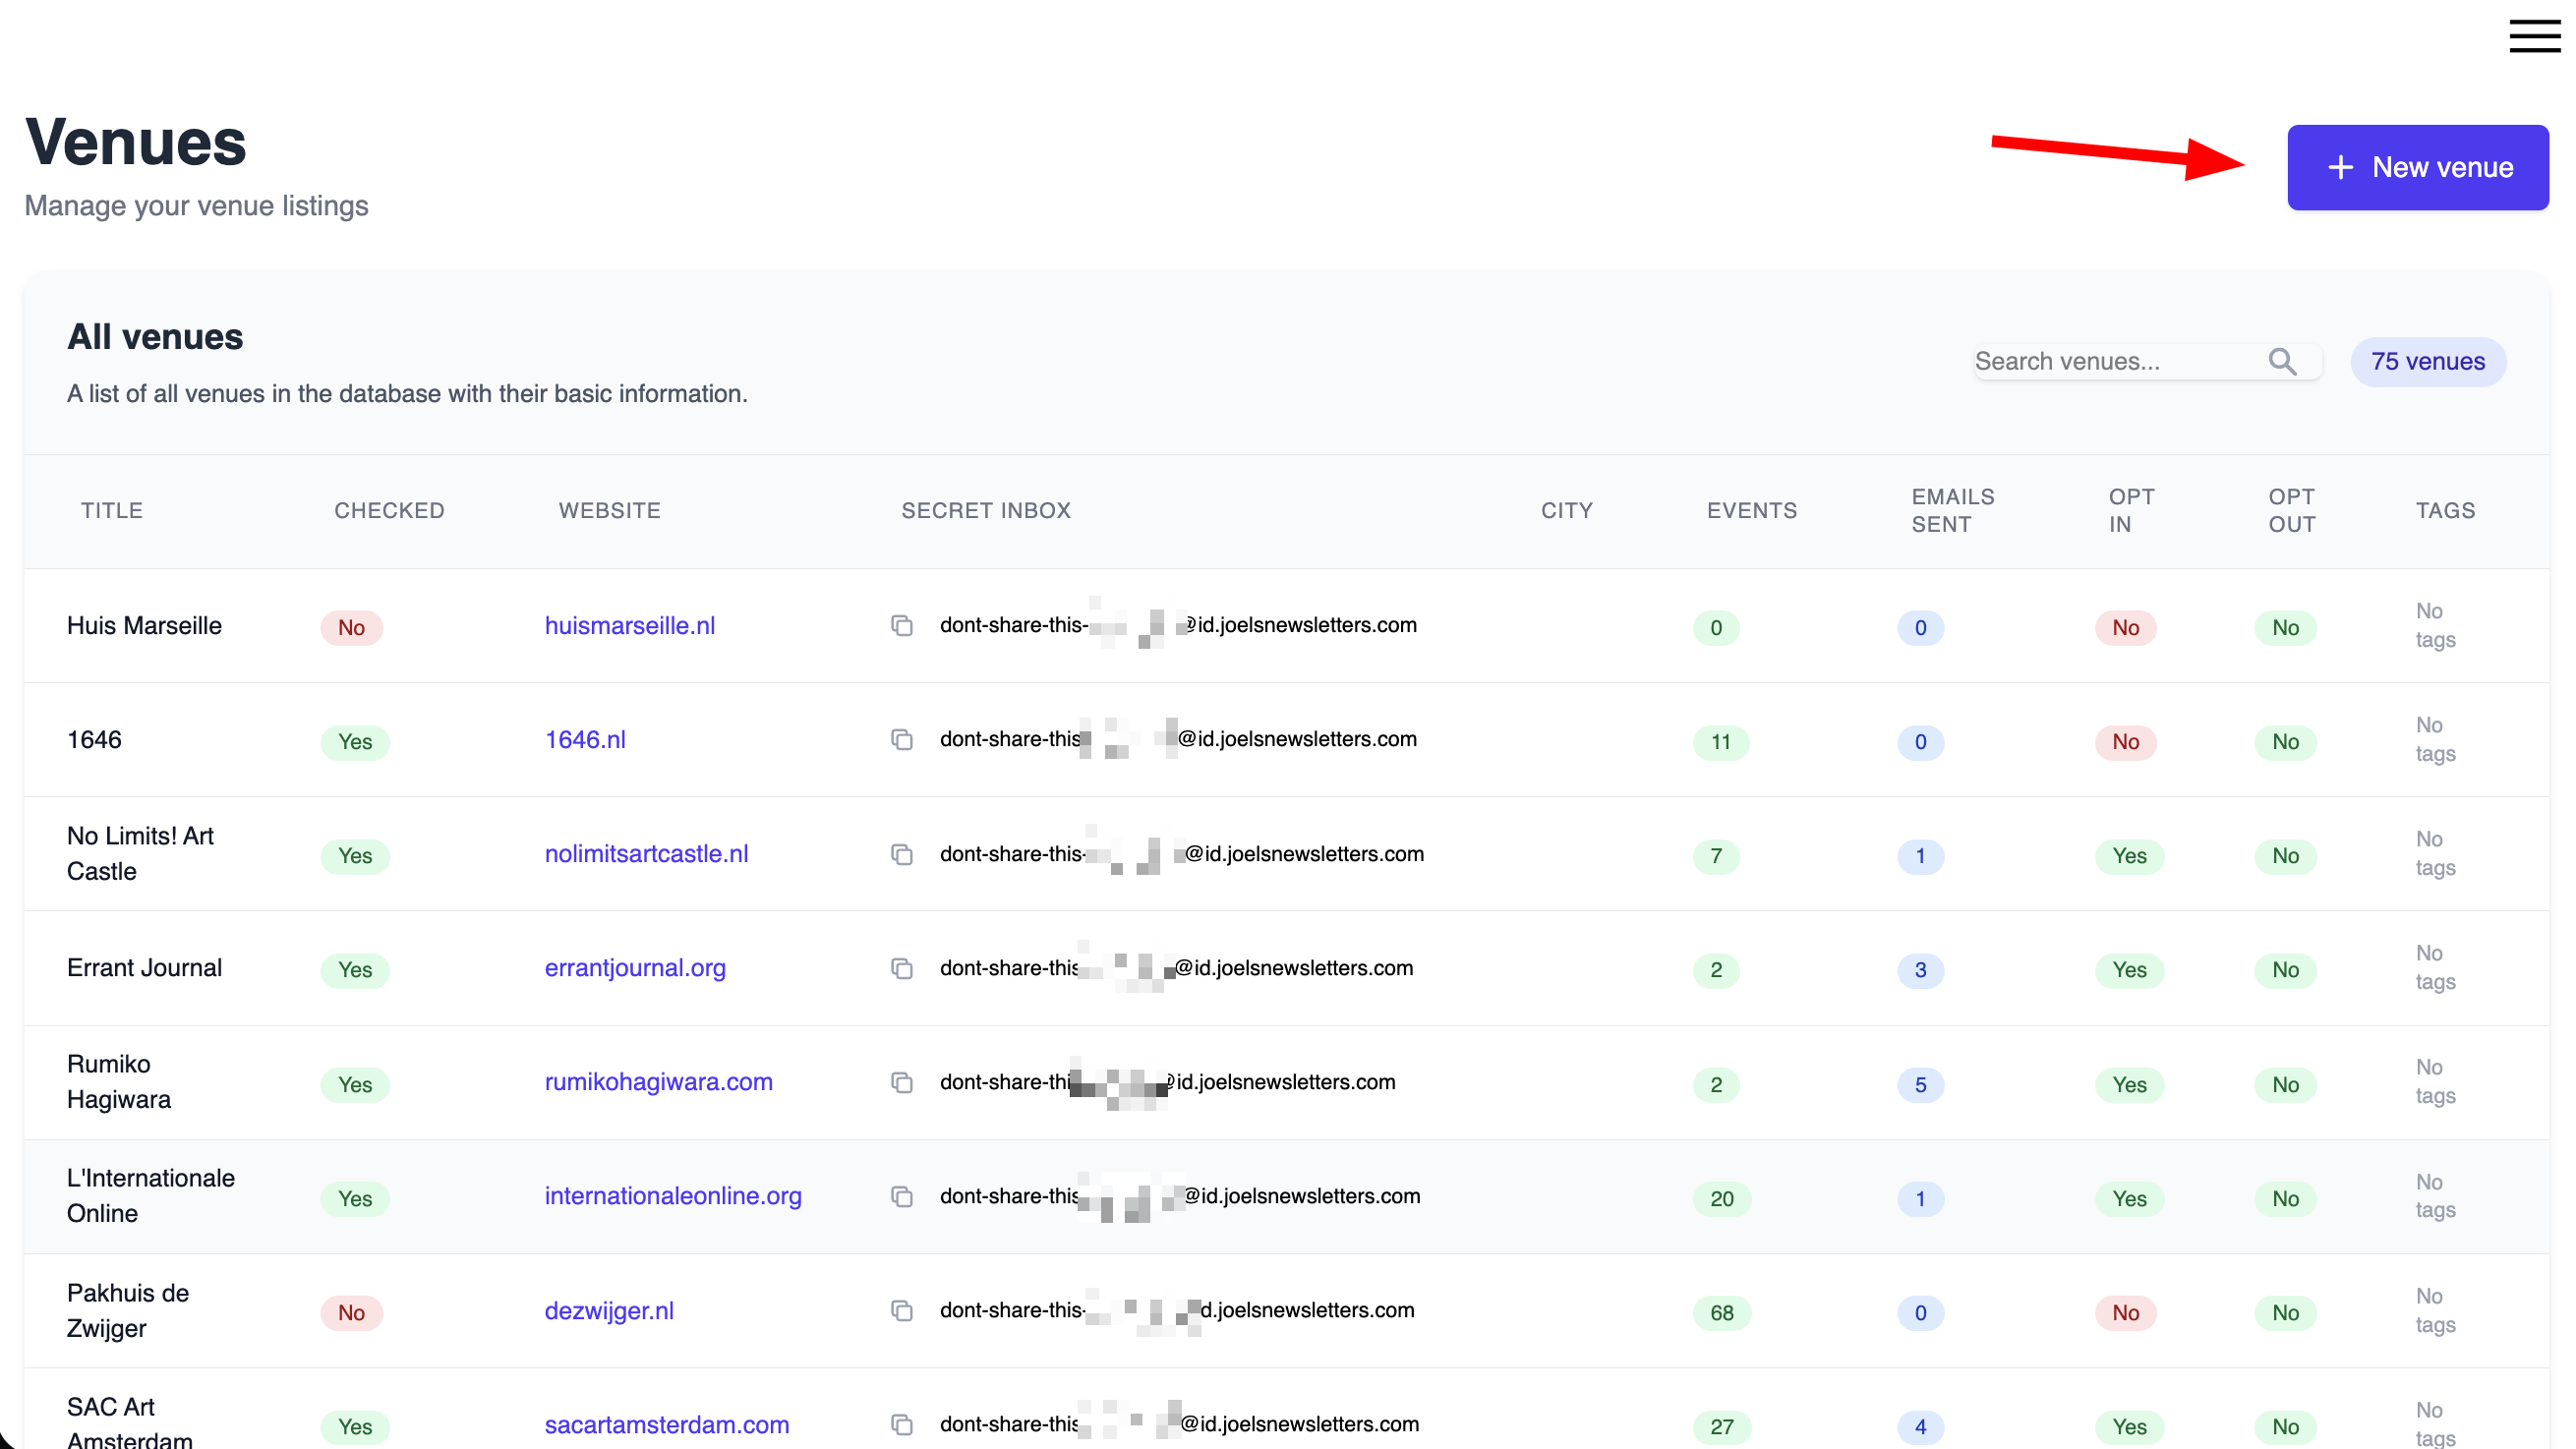
1. Step by step instructions
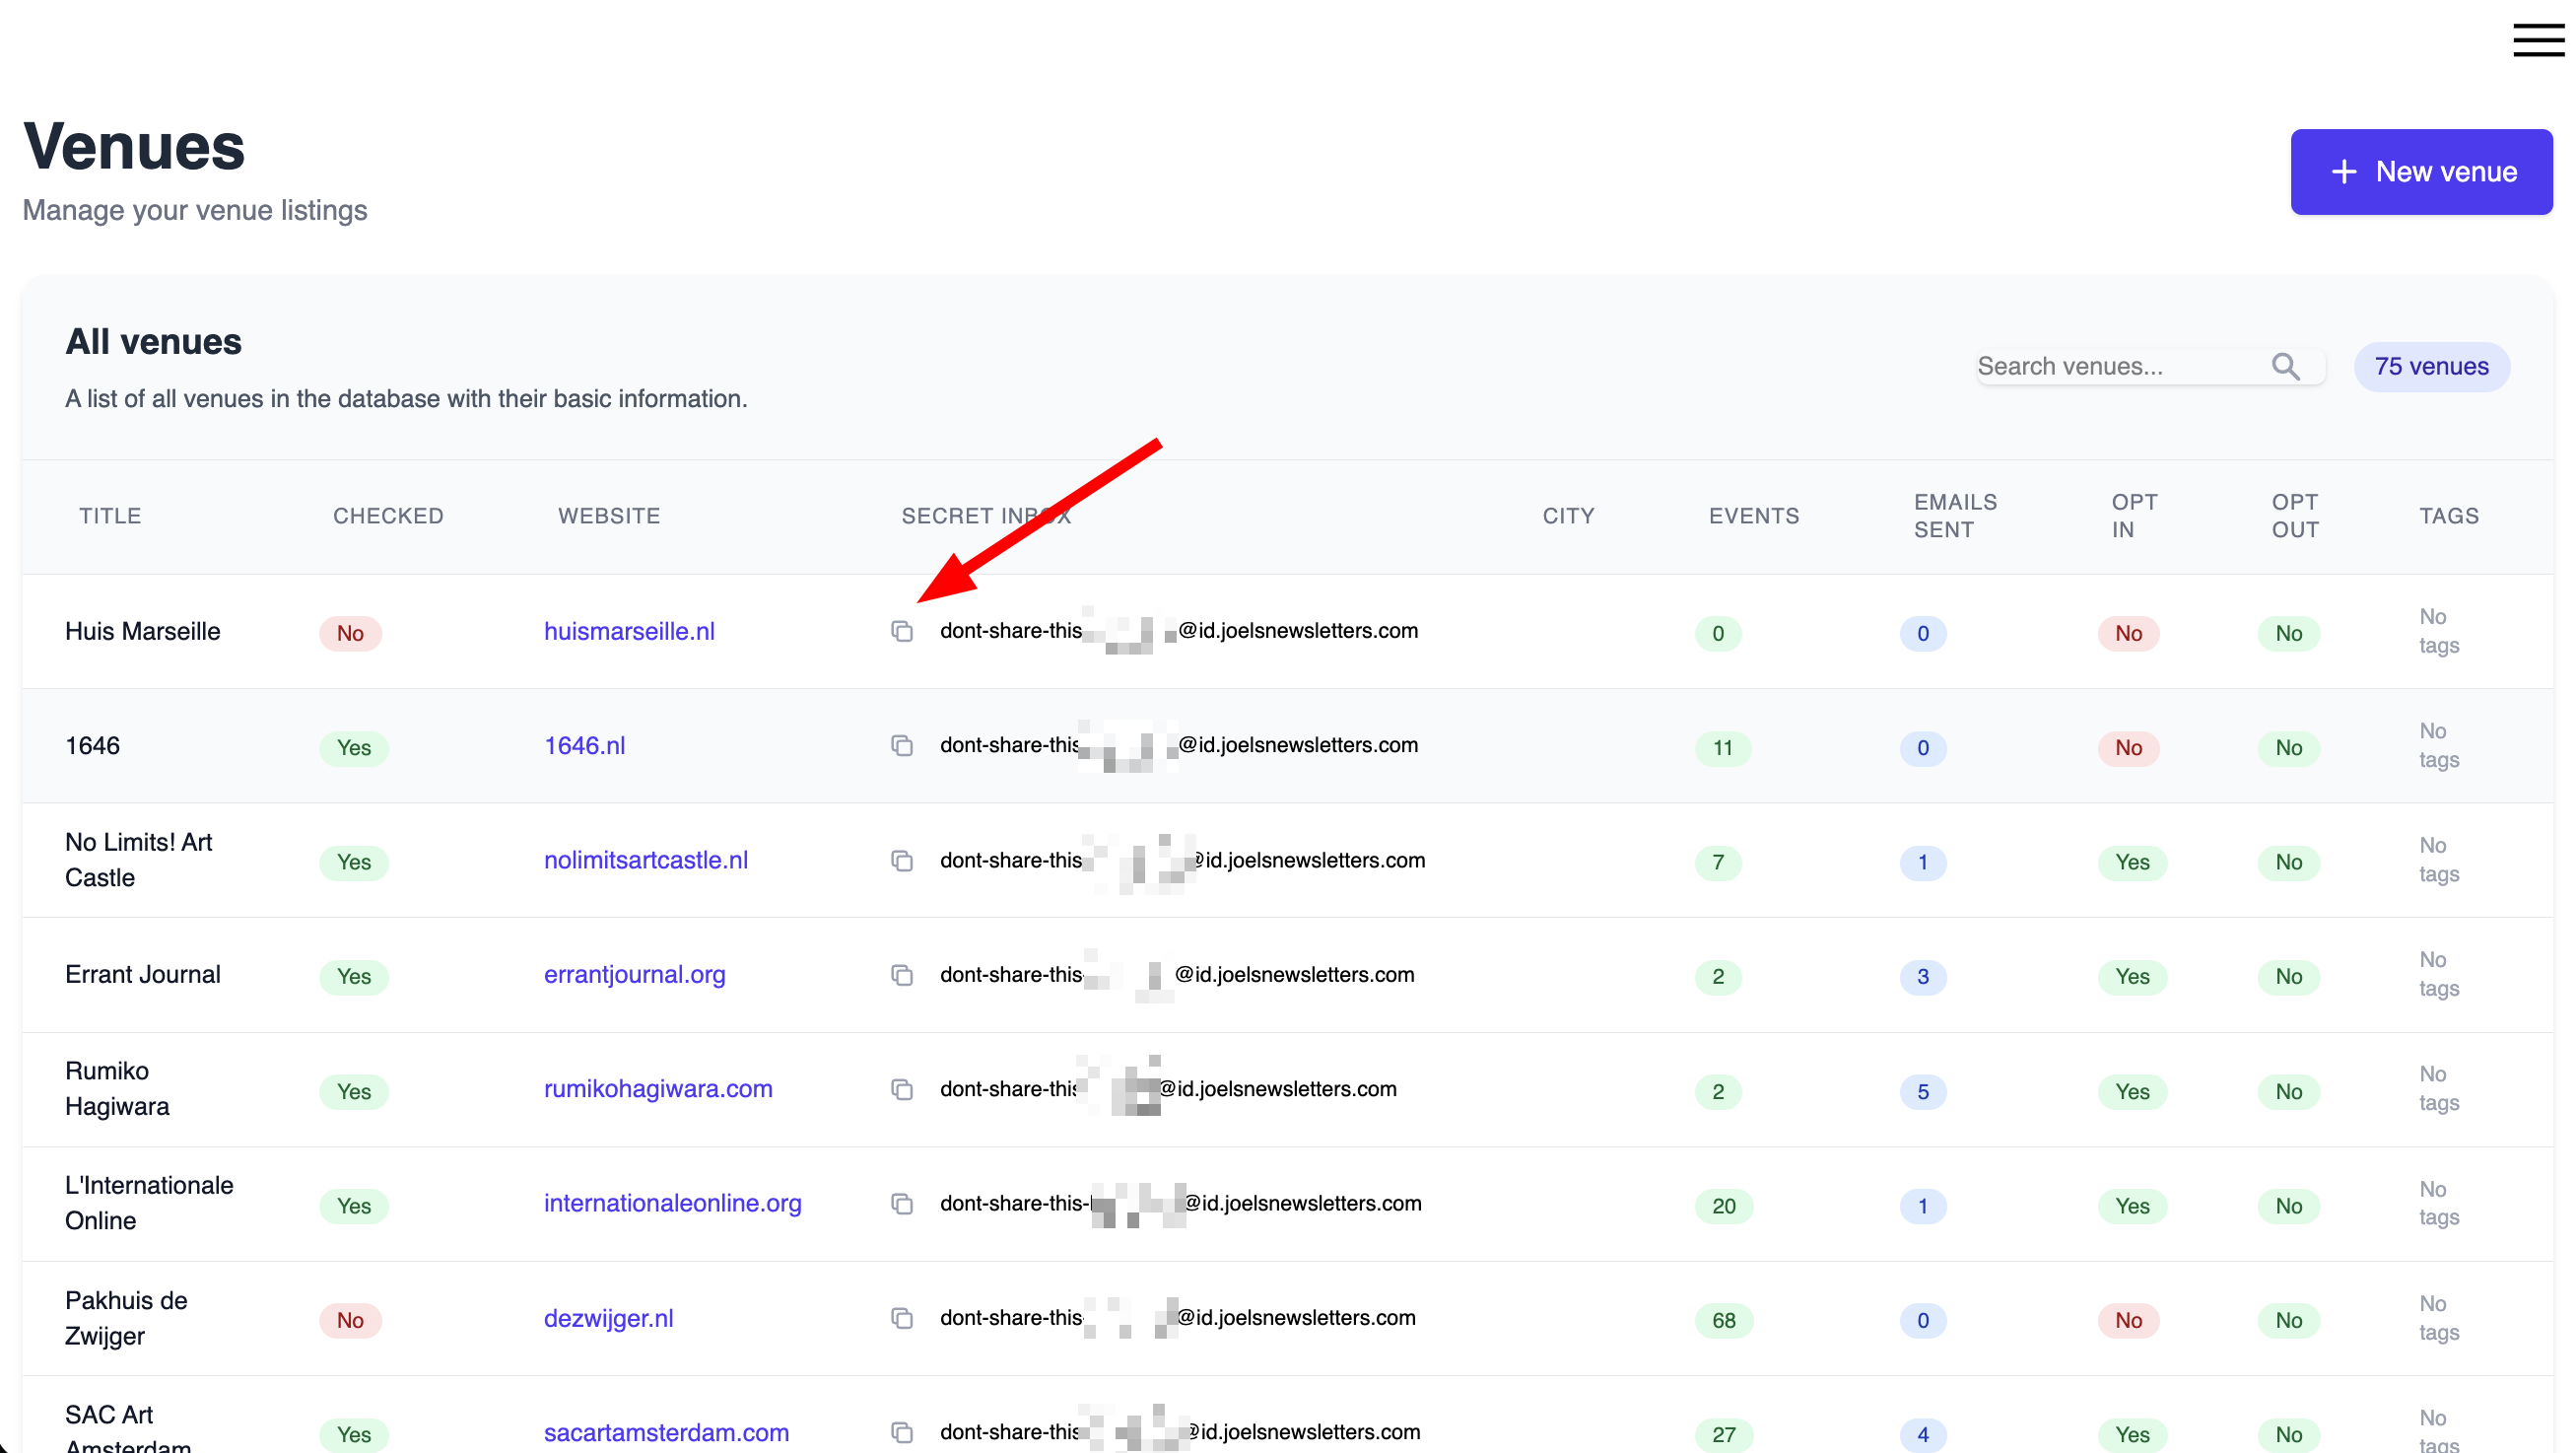
First, choose Venues in the menu and make a new venue
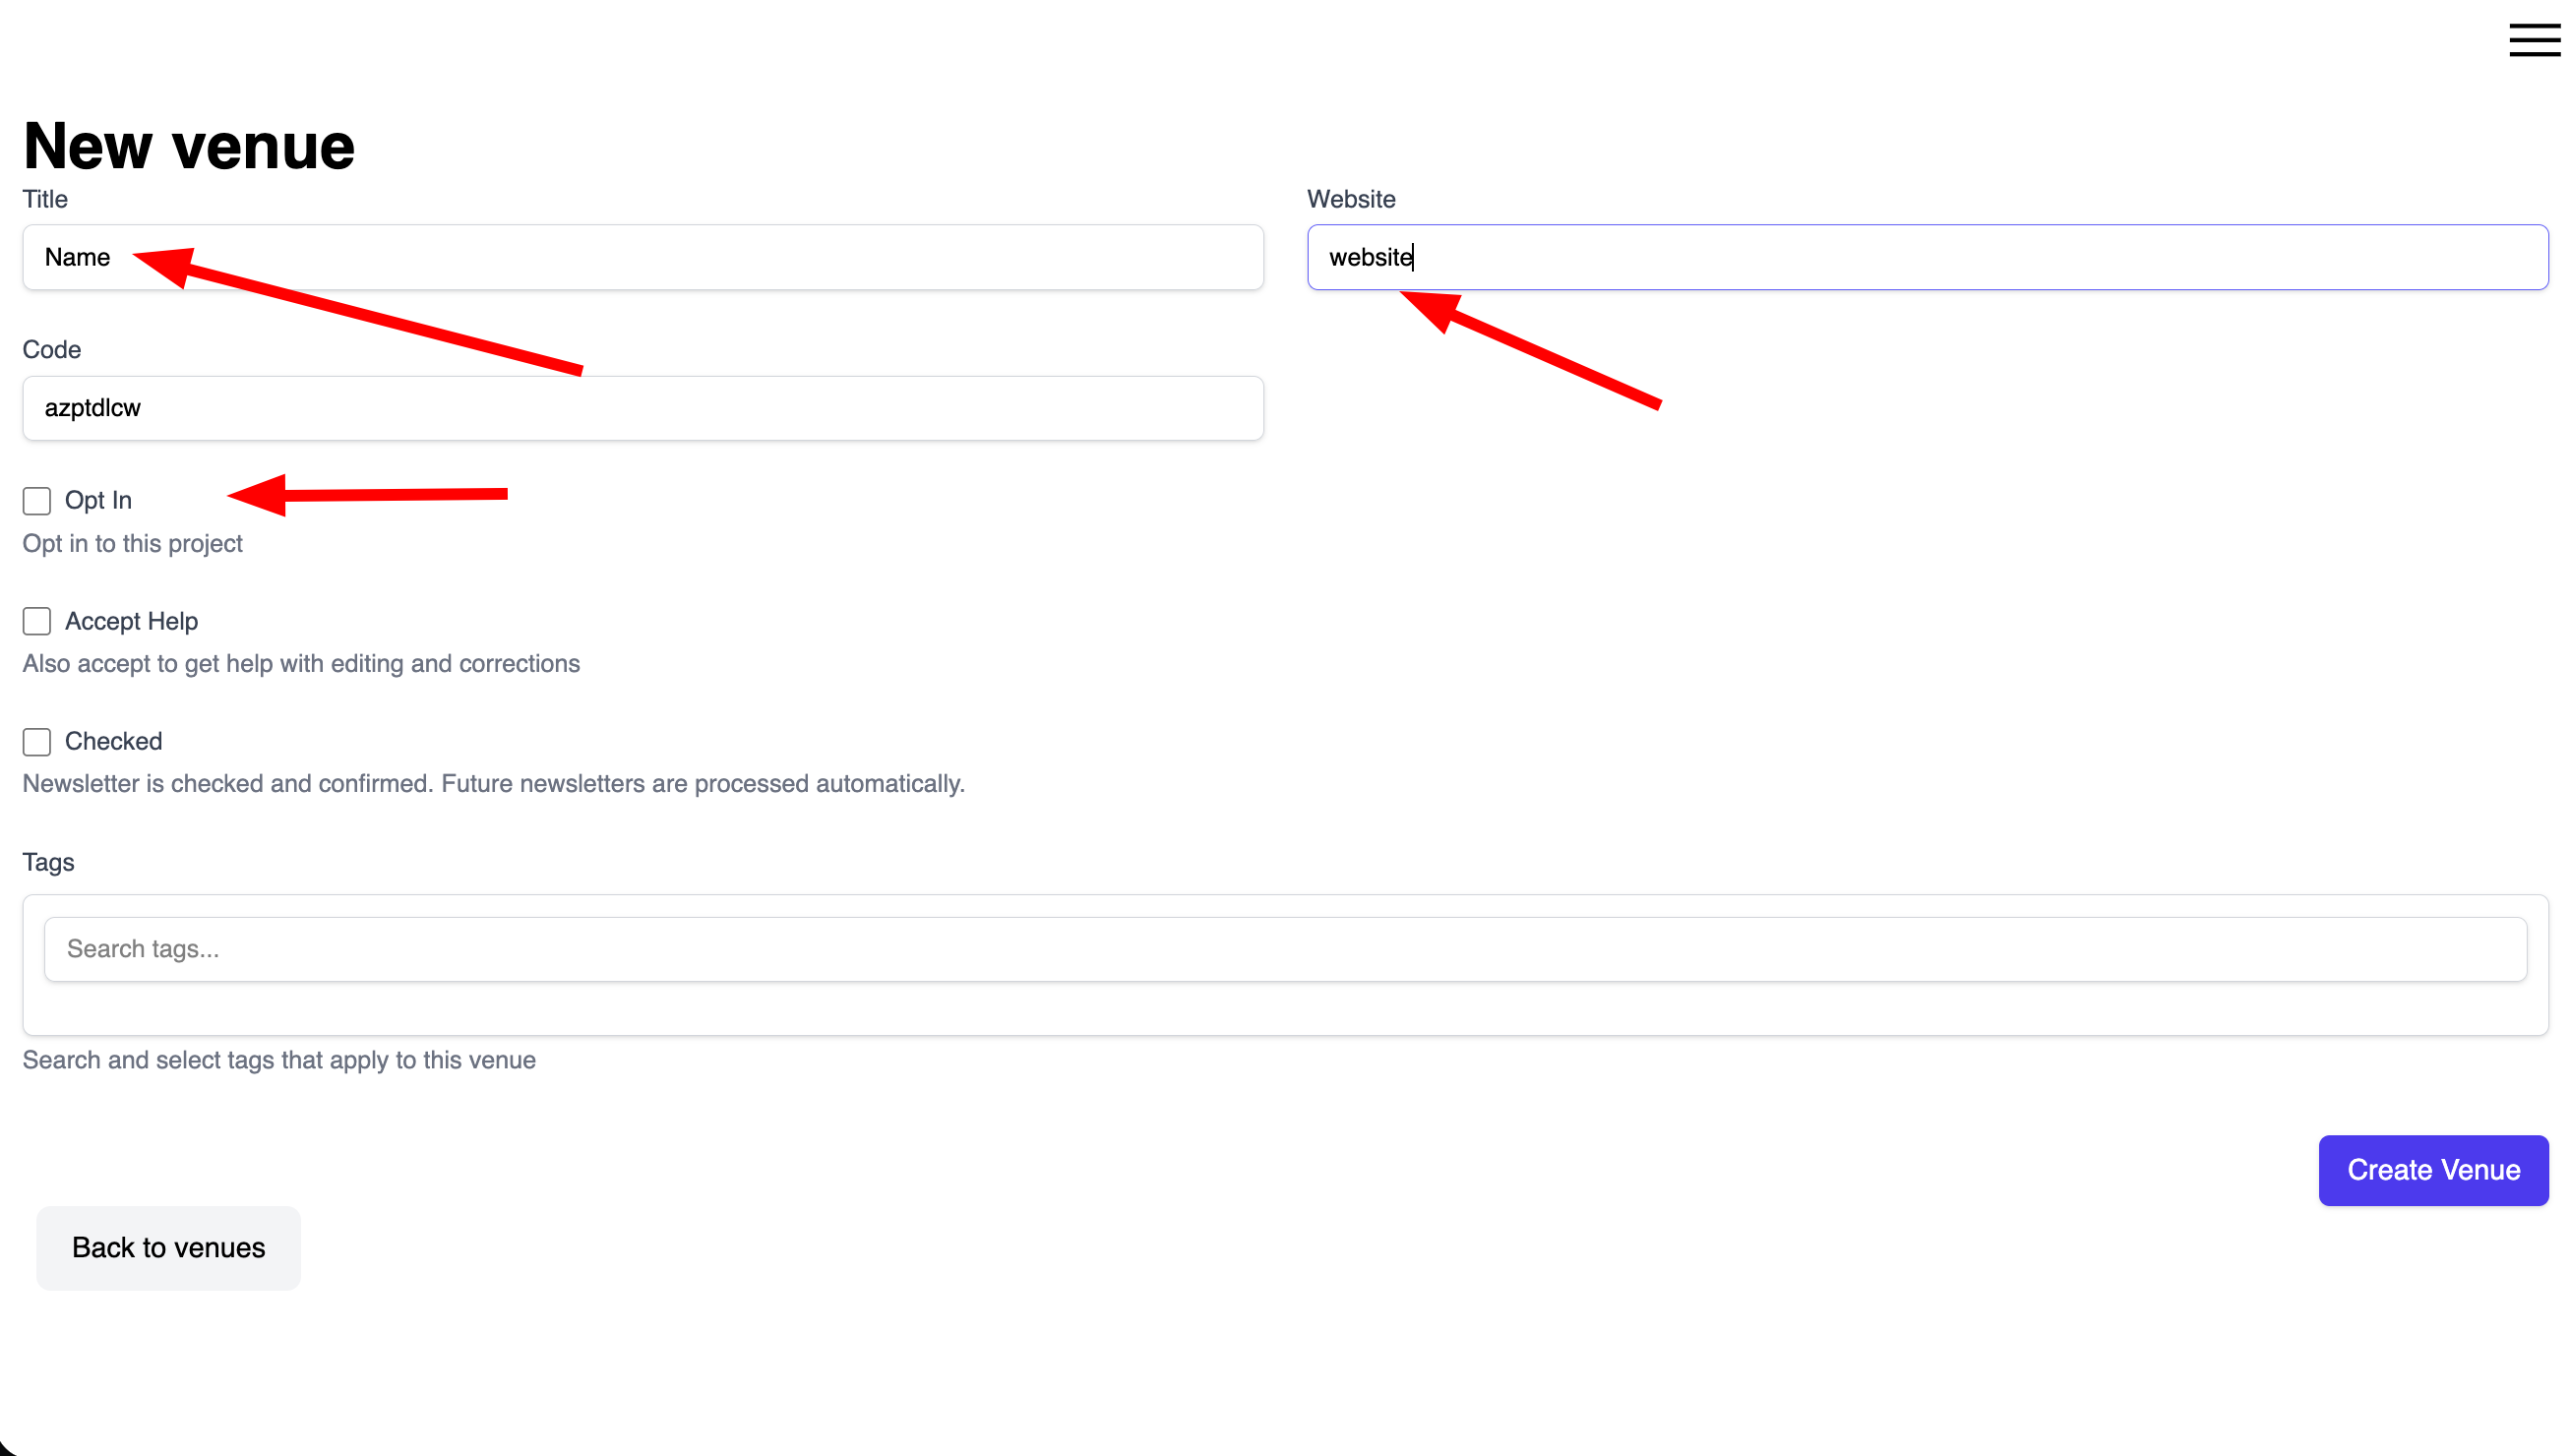
2. Venue
Give it a name, maybe add website. Check "opt in".
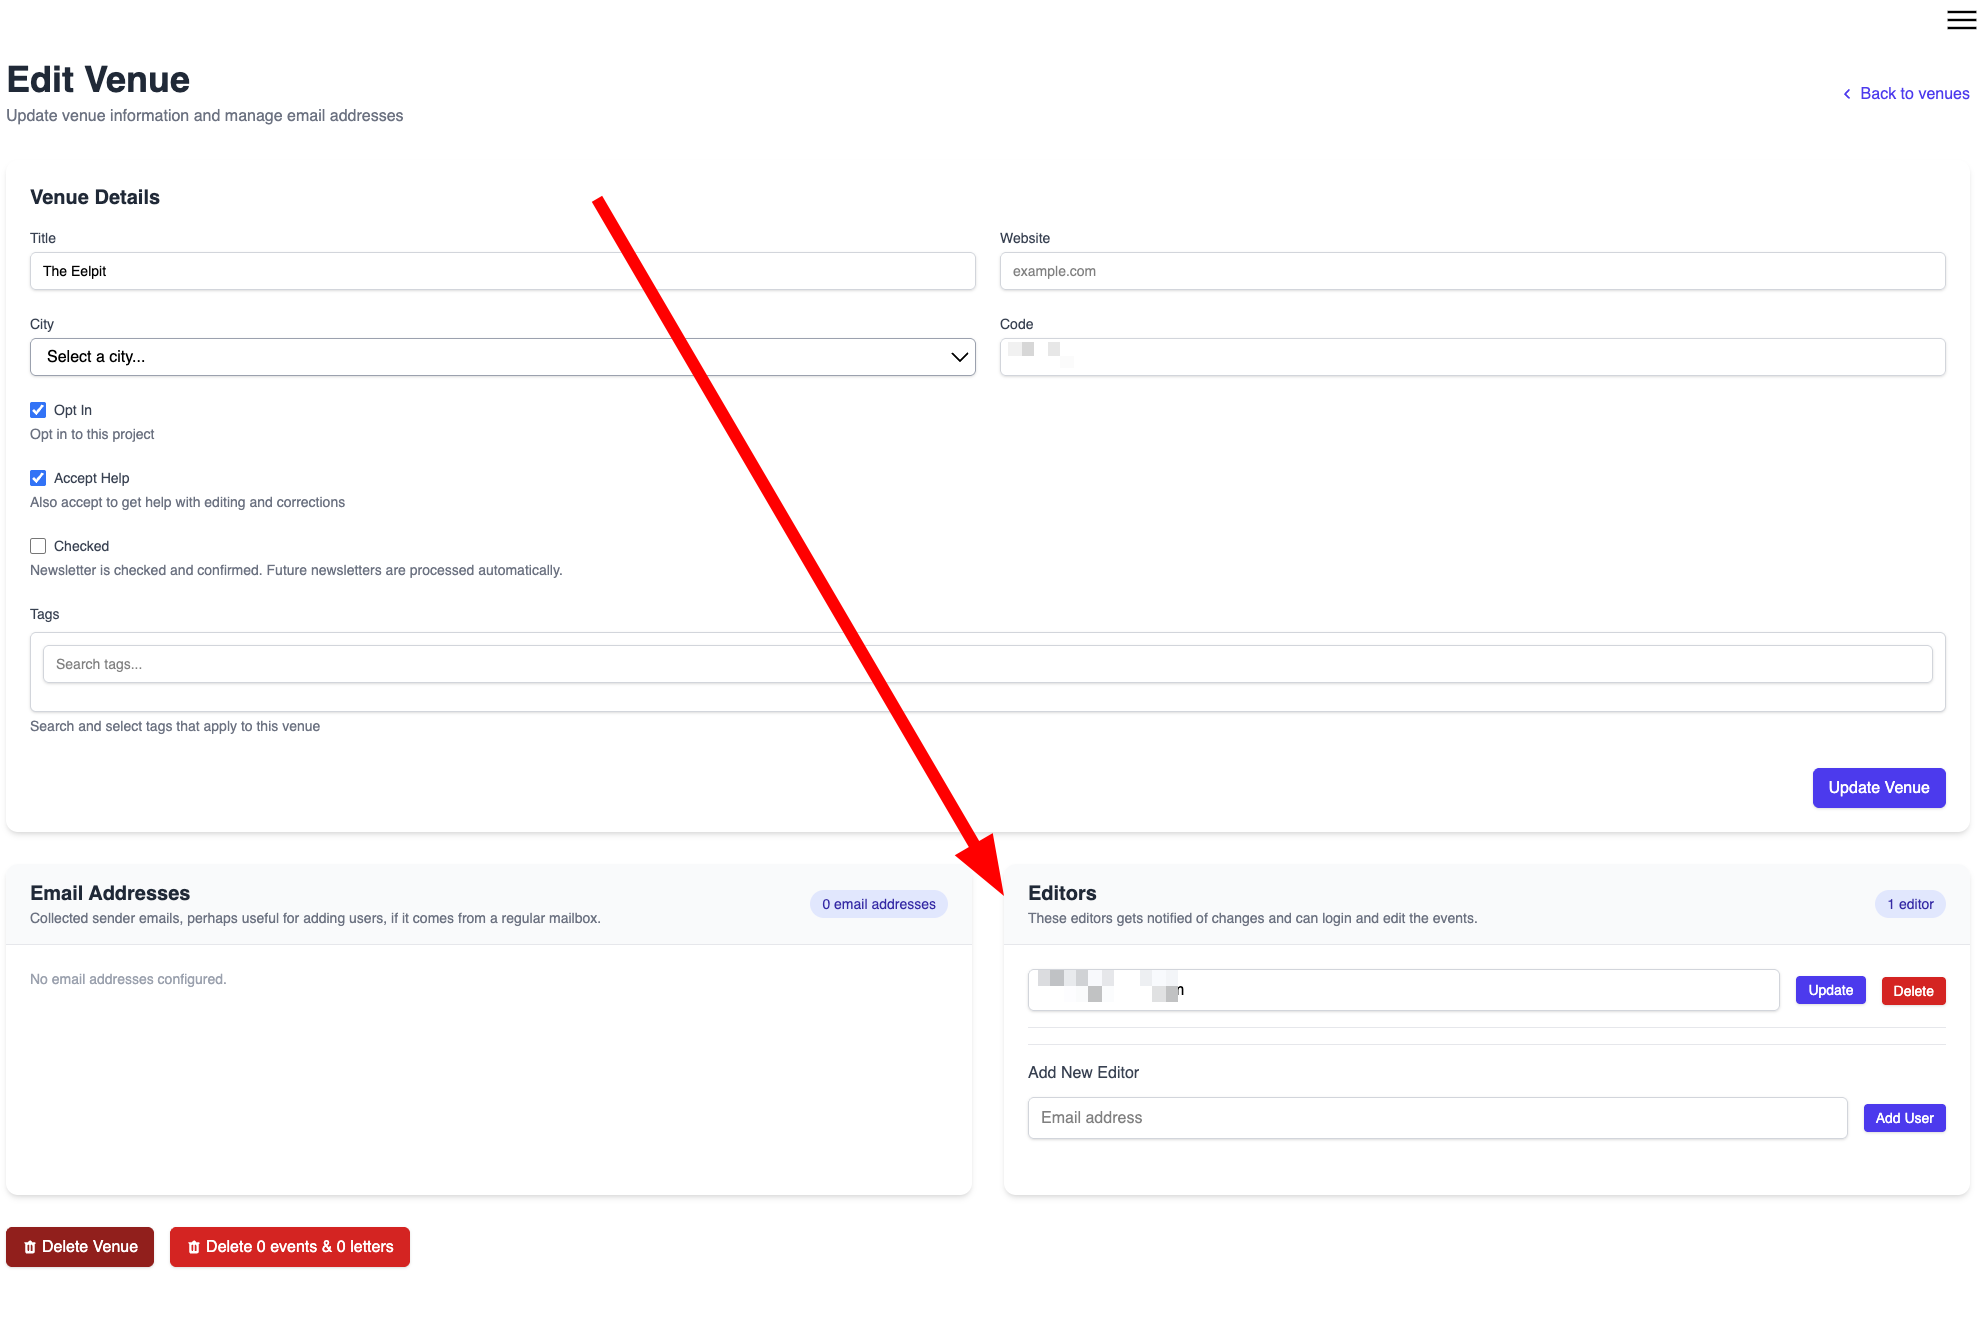
3. Venue
Add the people from that venue that want to be able to help with the edits.
4. Sign up
Copy the secret email for the new venue and subscribe to their newsletter using this email
You can send anything to this email. Good to test.
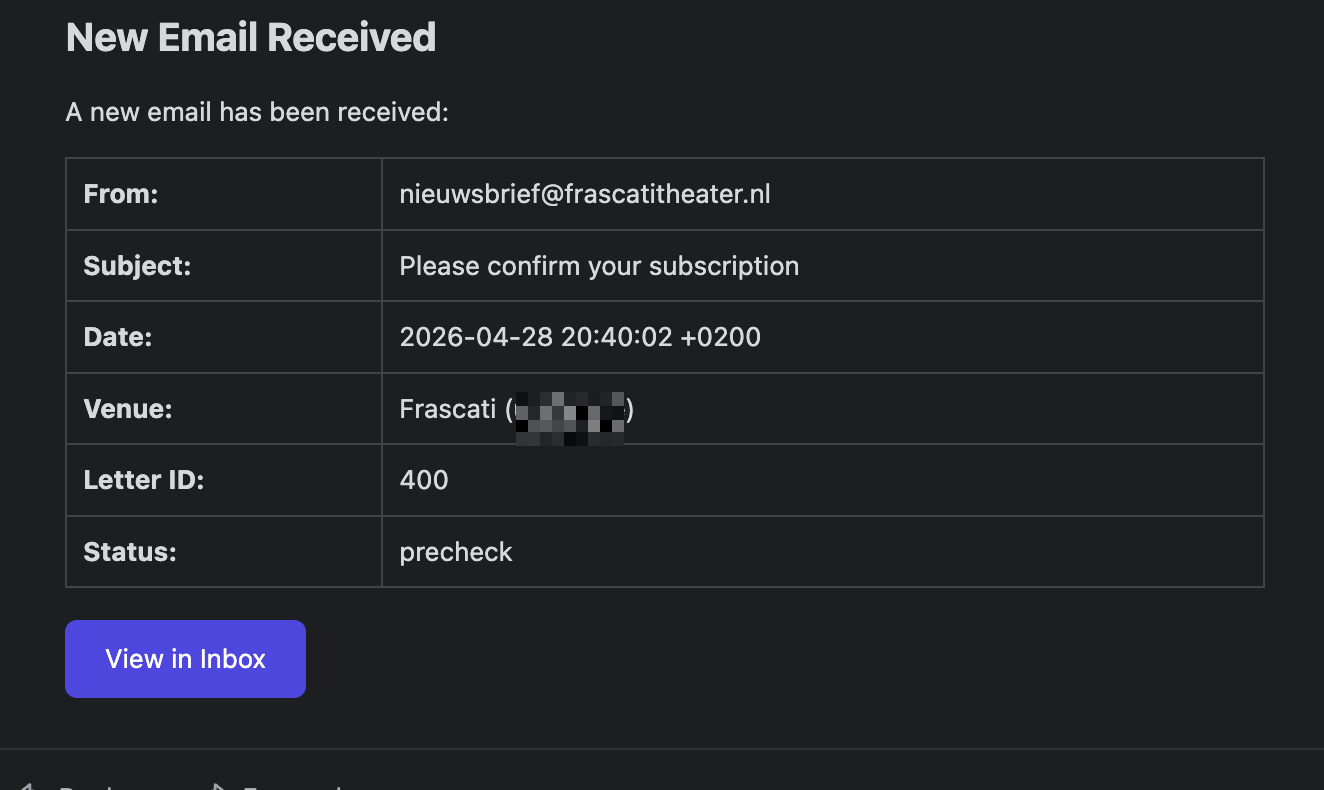
5. New newsletter!
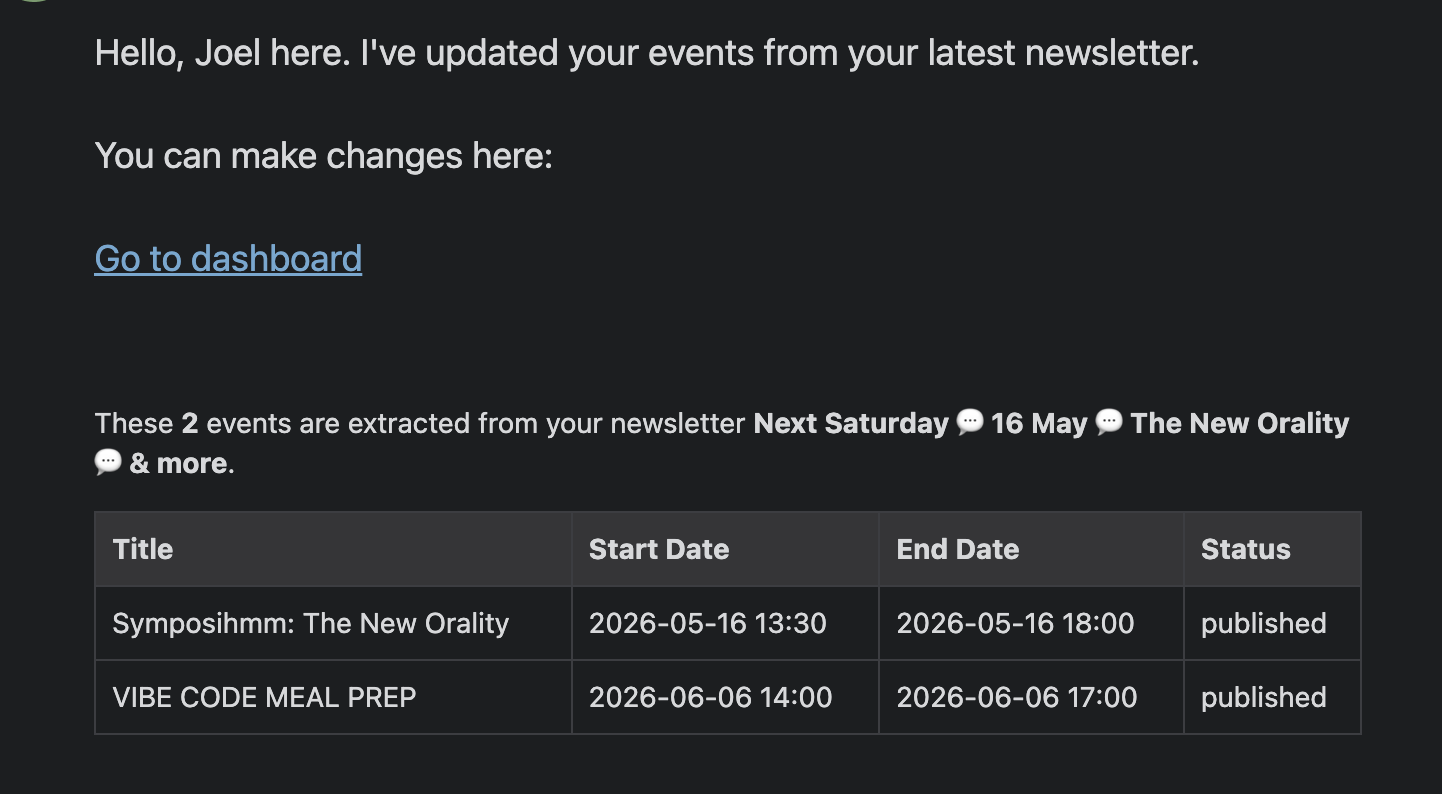
If a newsletter arrive, you get a email confirmation. The button logs you in and takes you to the inbox
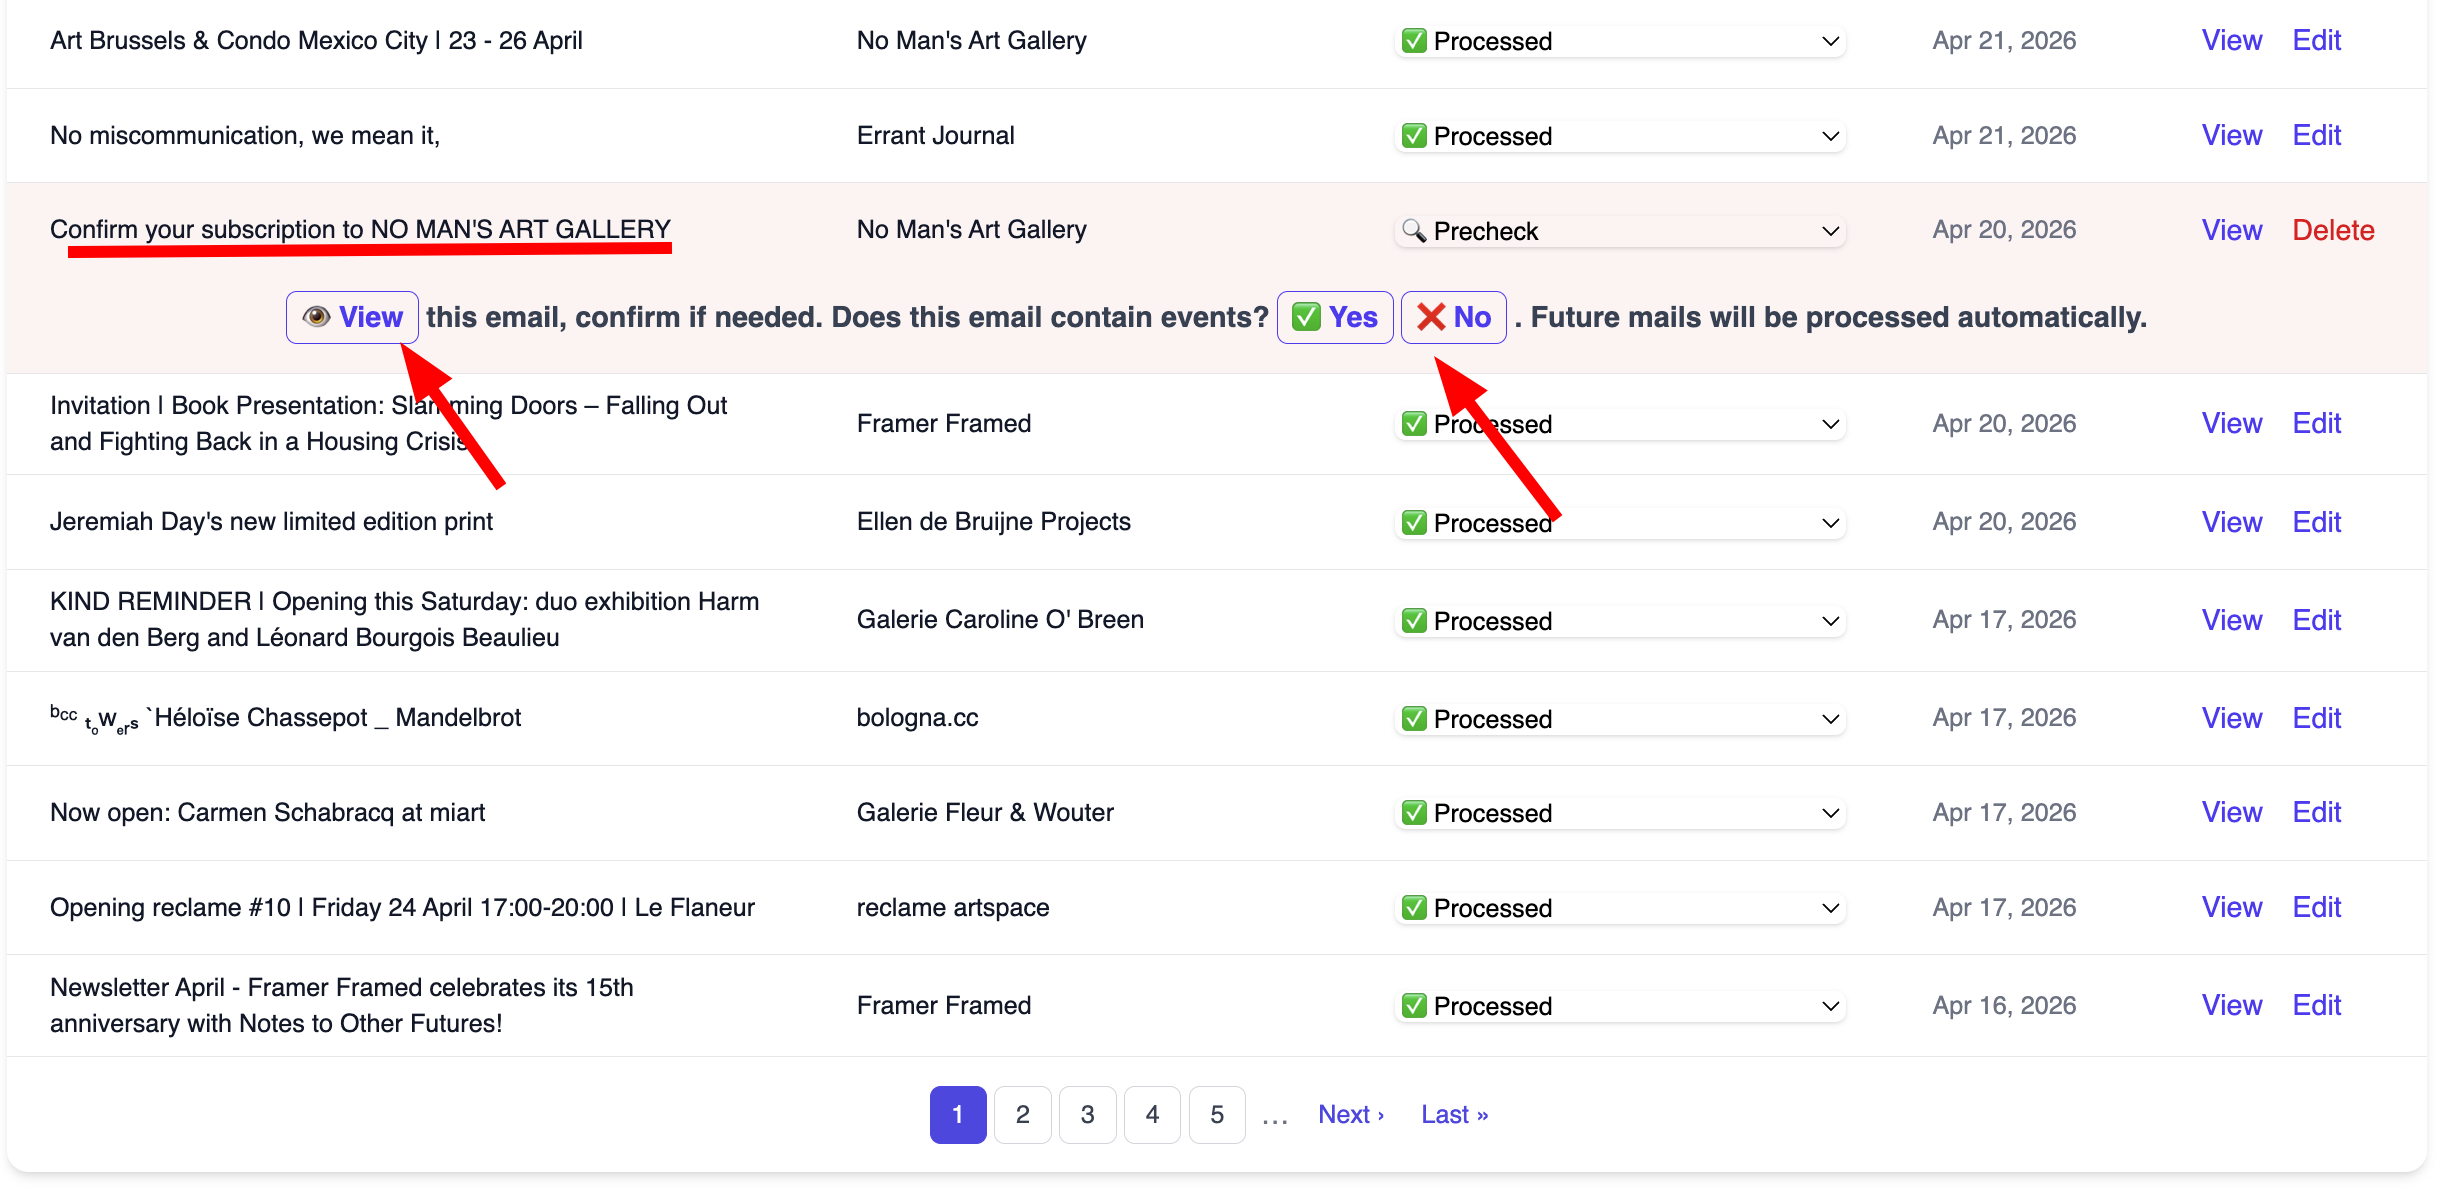
6. Confirm
First time, press "view" to be able to confirm your subscription, if needed.
Indicate if this email has events, yes or no.
7. Dashboard
When comparing events, you automatically view the latest newsletter
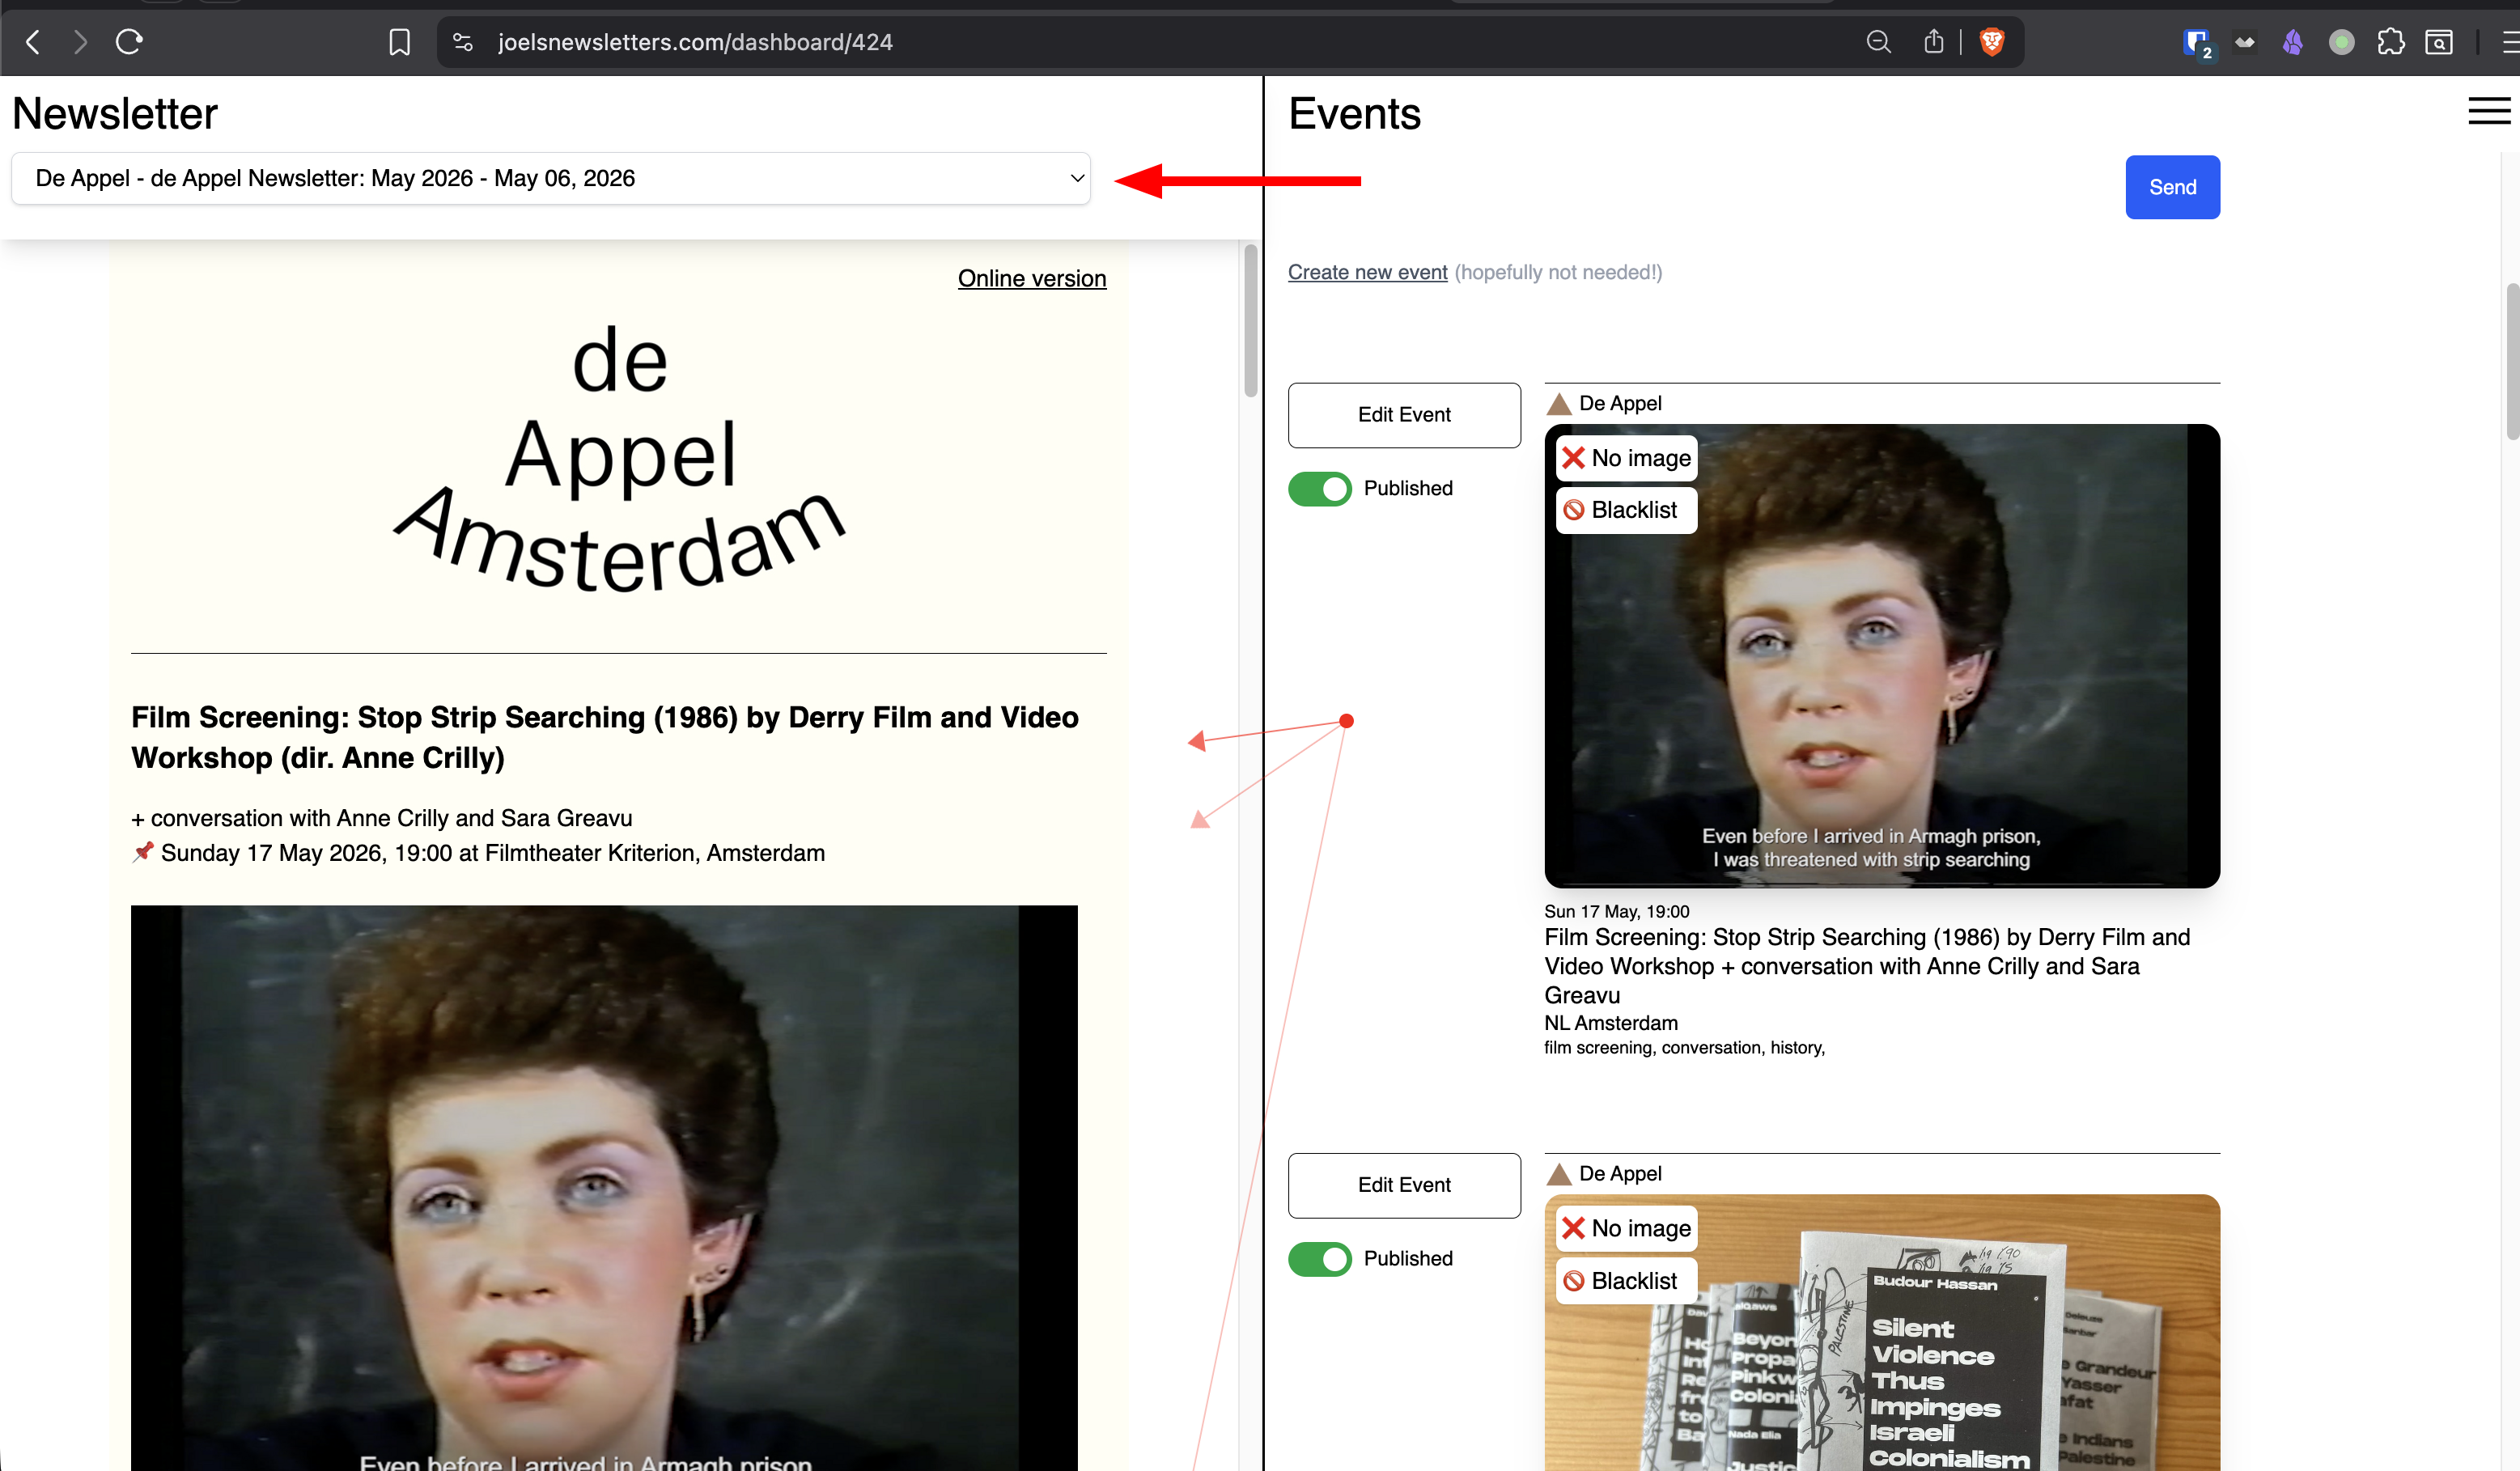
8. Dashboard
Clicking the arrow is a way to help finding things.
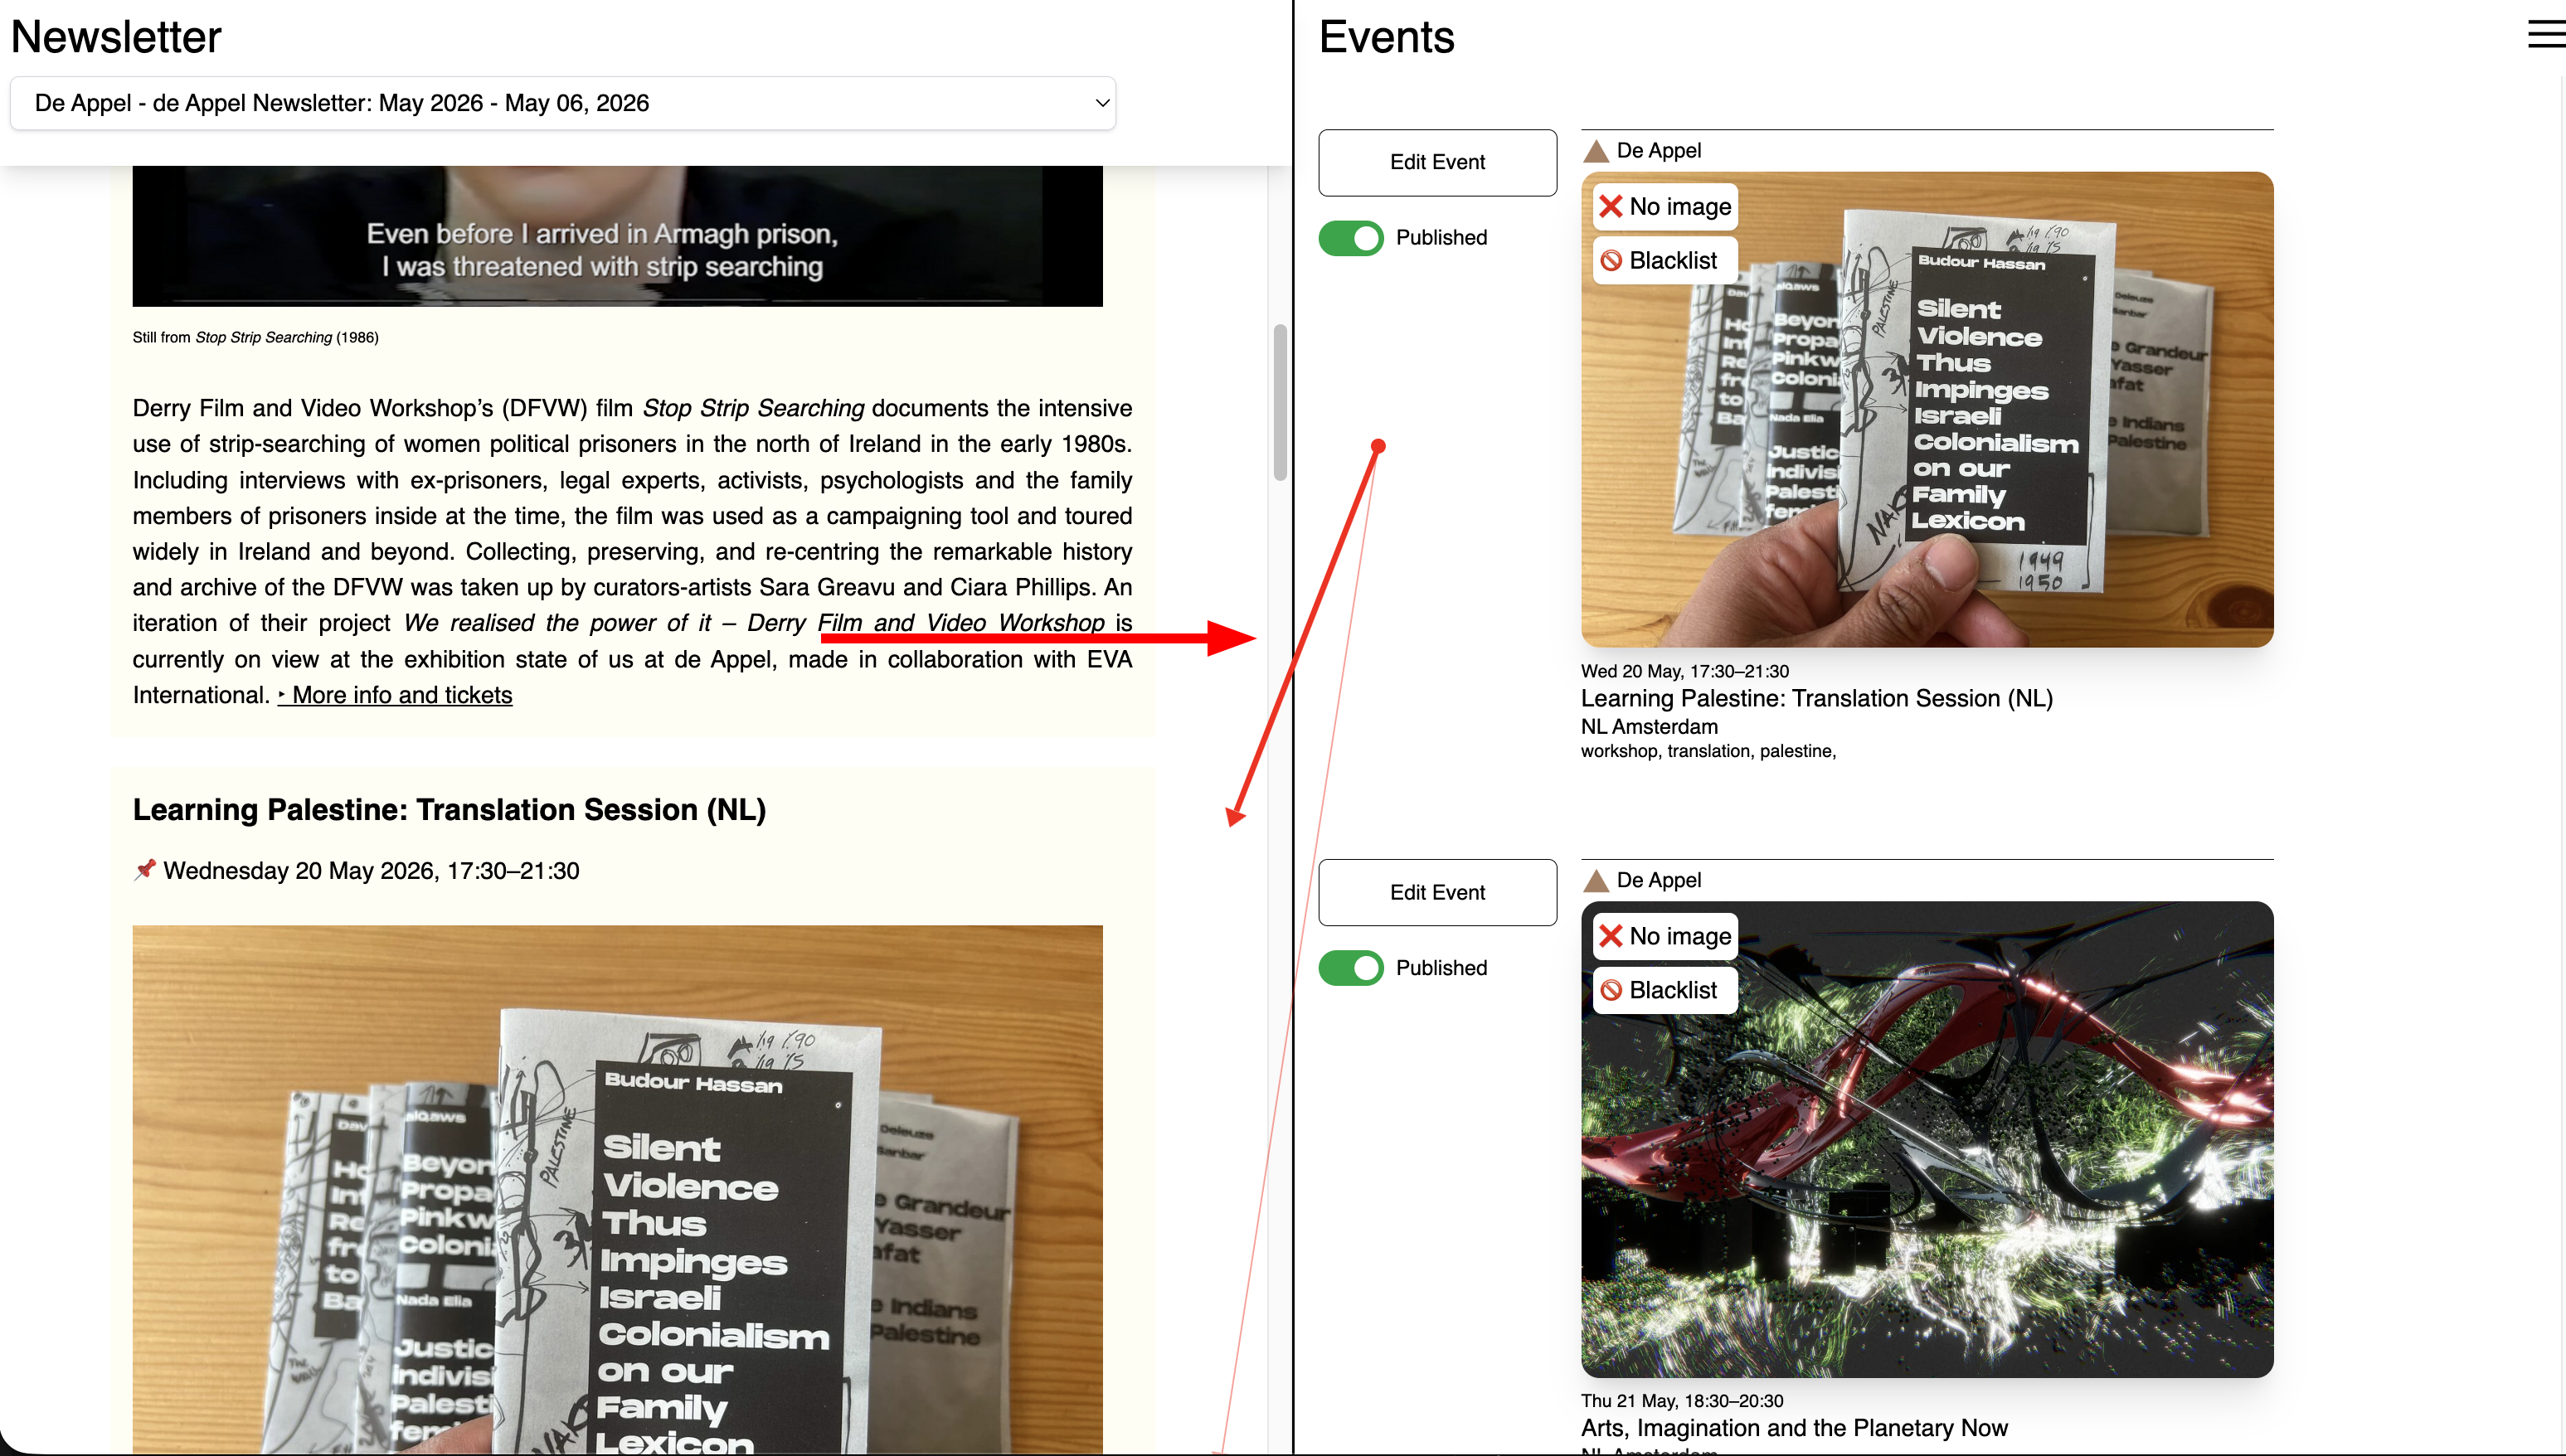
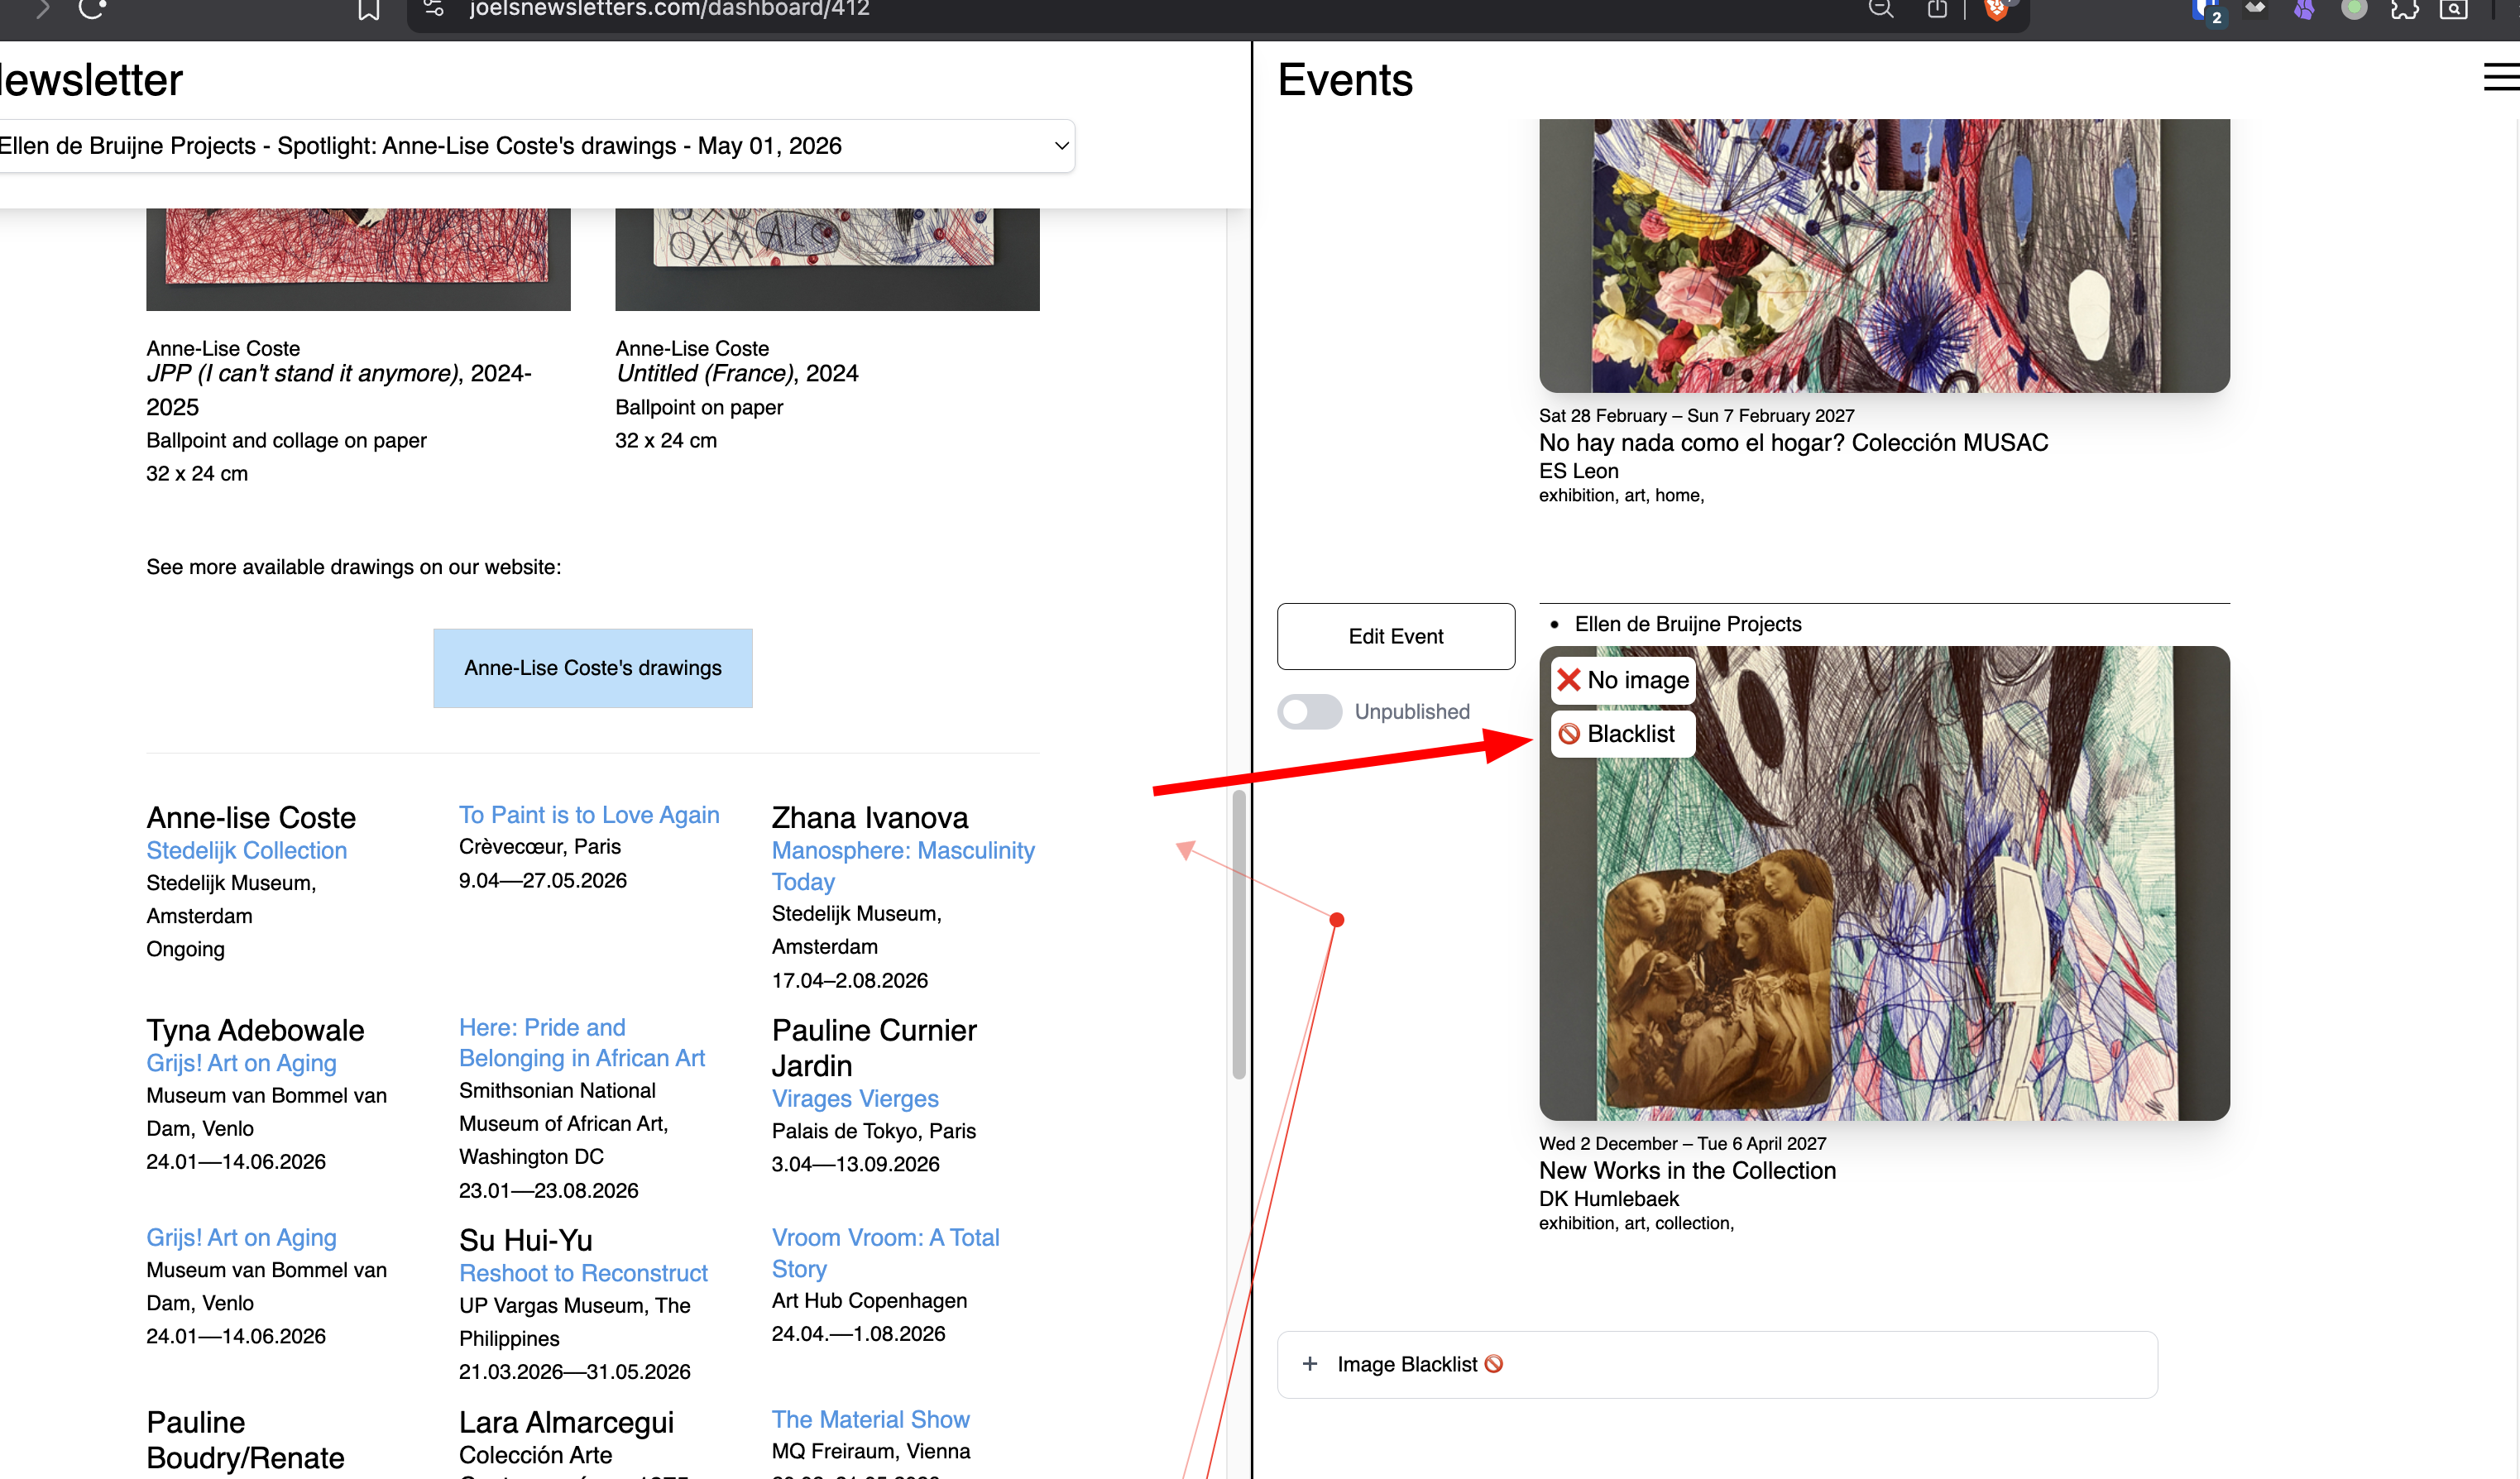
9. Dashboard
Blacklist means "Never use this again".
Sometimes the model might pick a logo by mistake. Next time it will avoid this image.
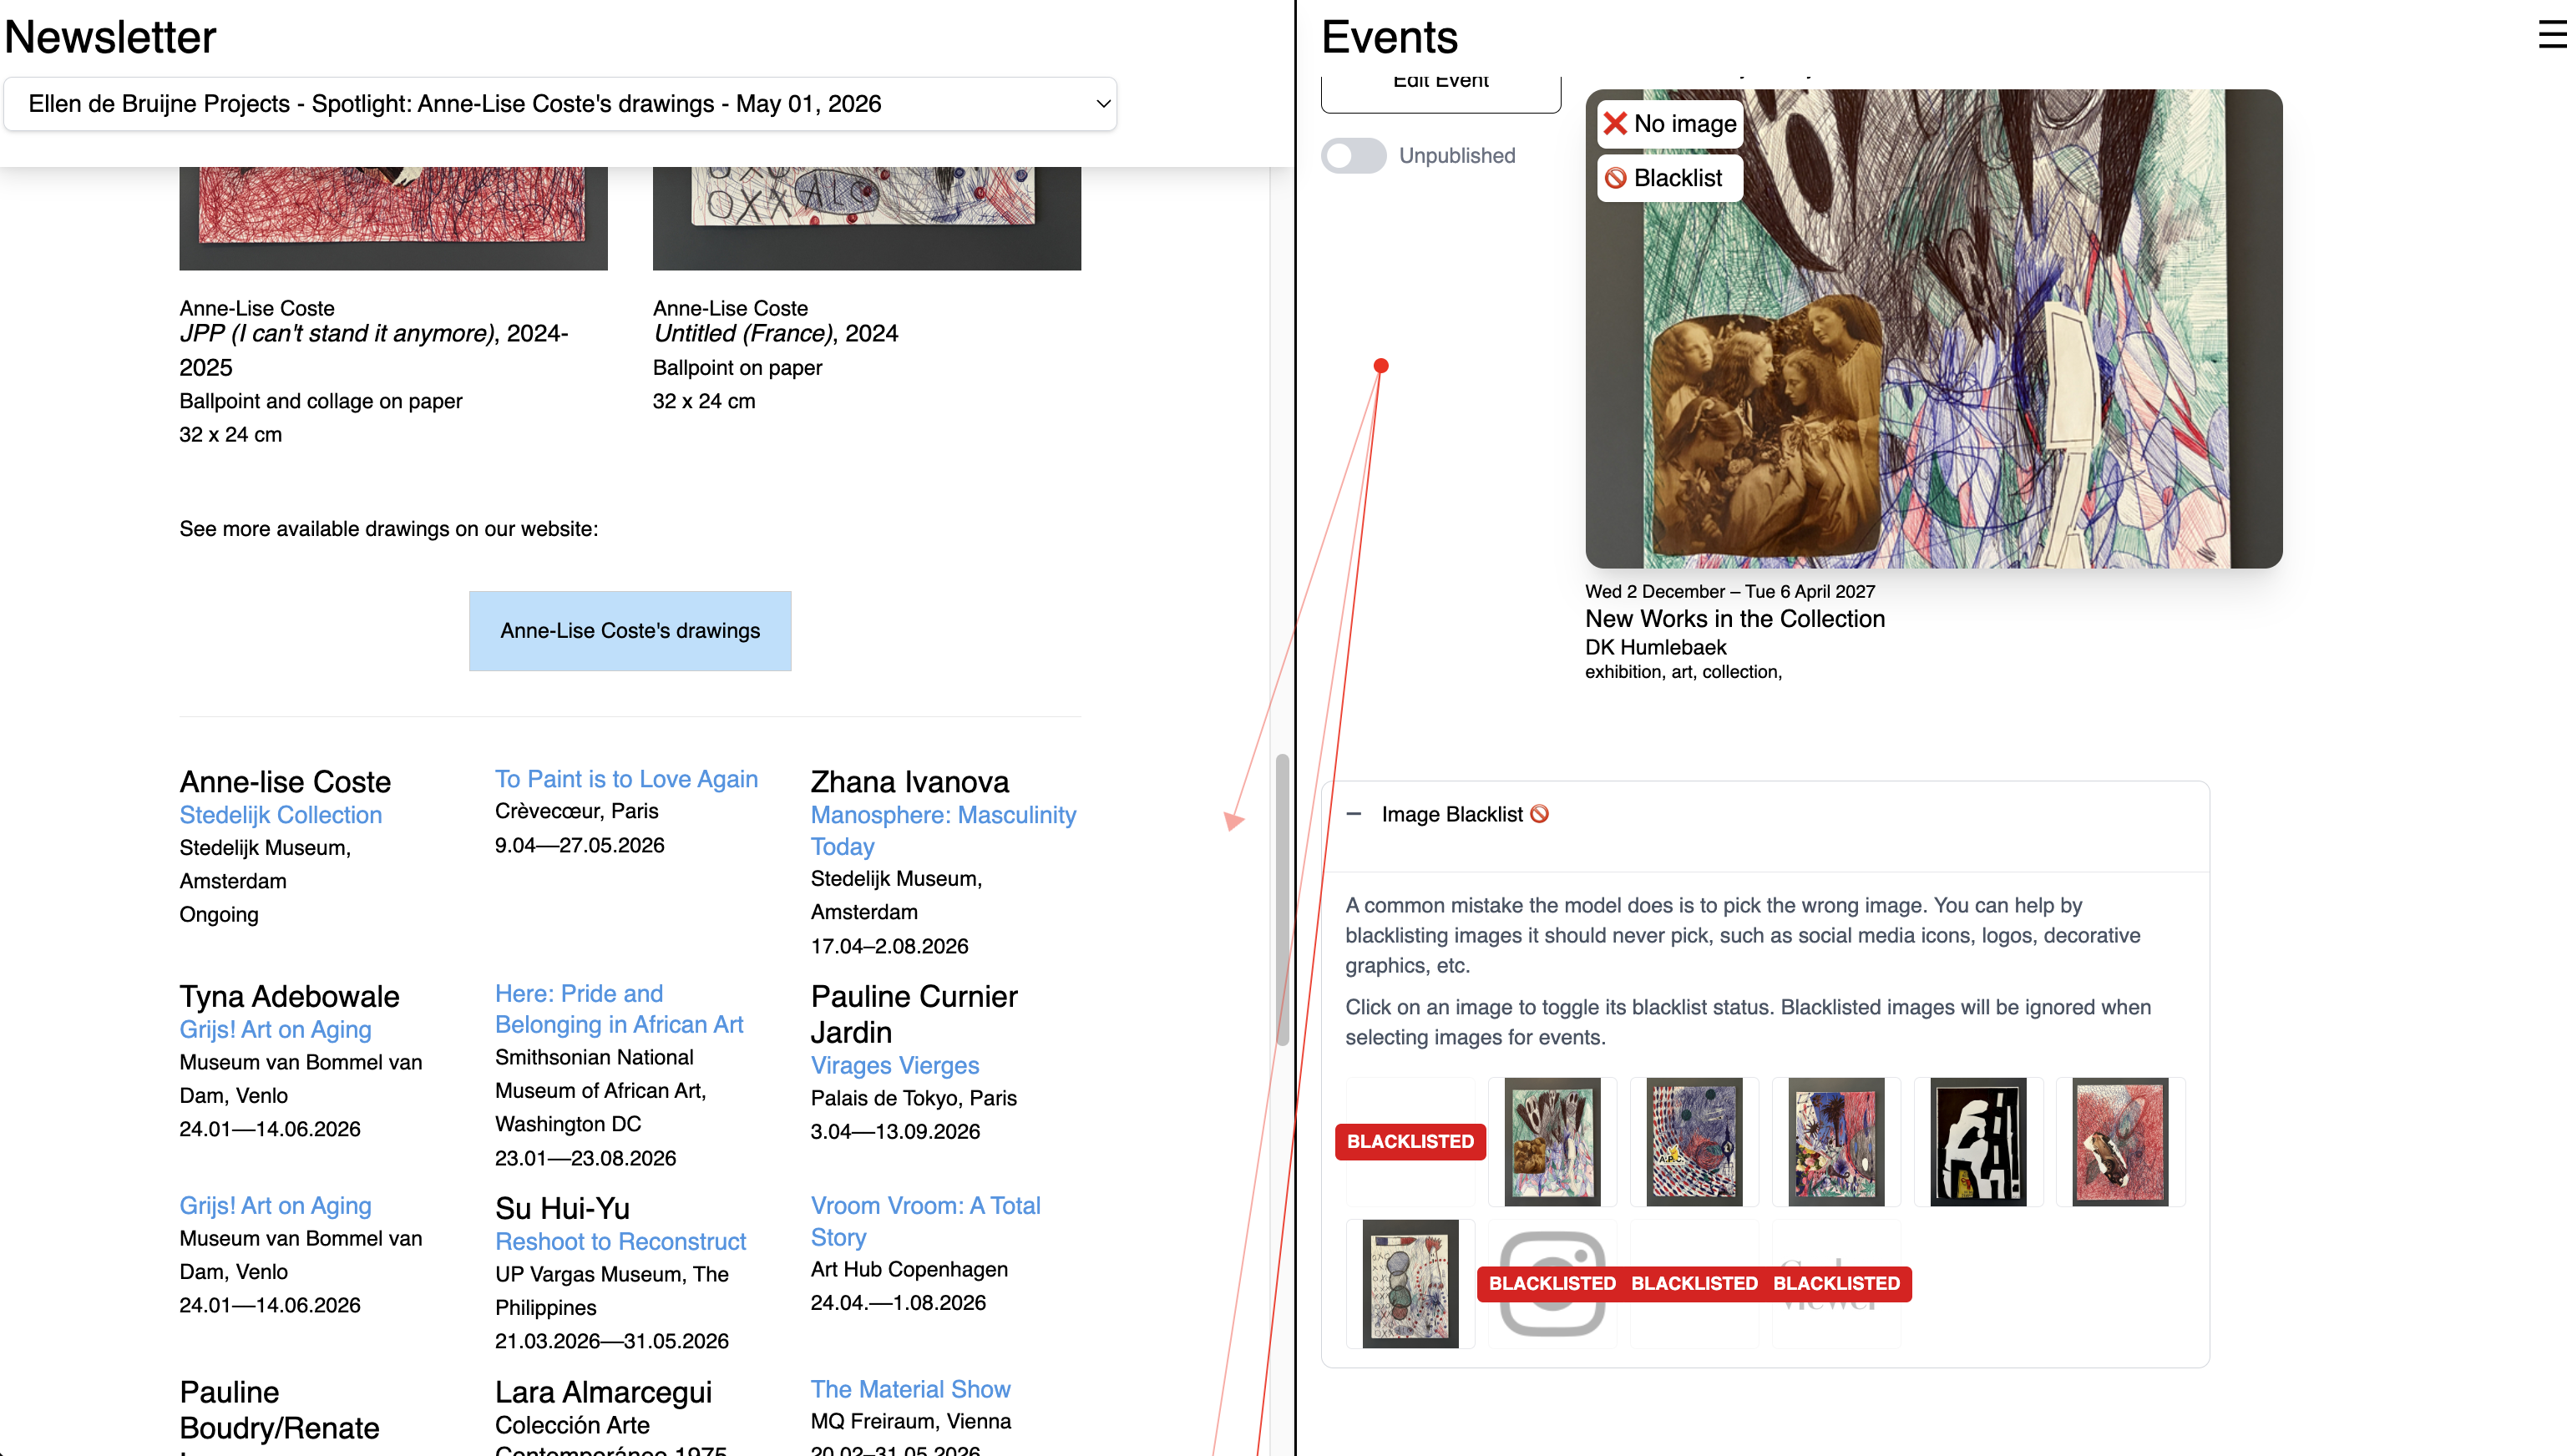
10. Dashboard
You can change the blacklist below the events.
This applies to all newsletters for this venue.
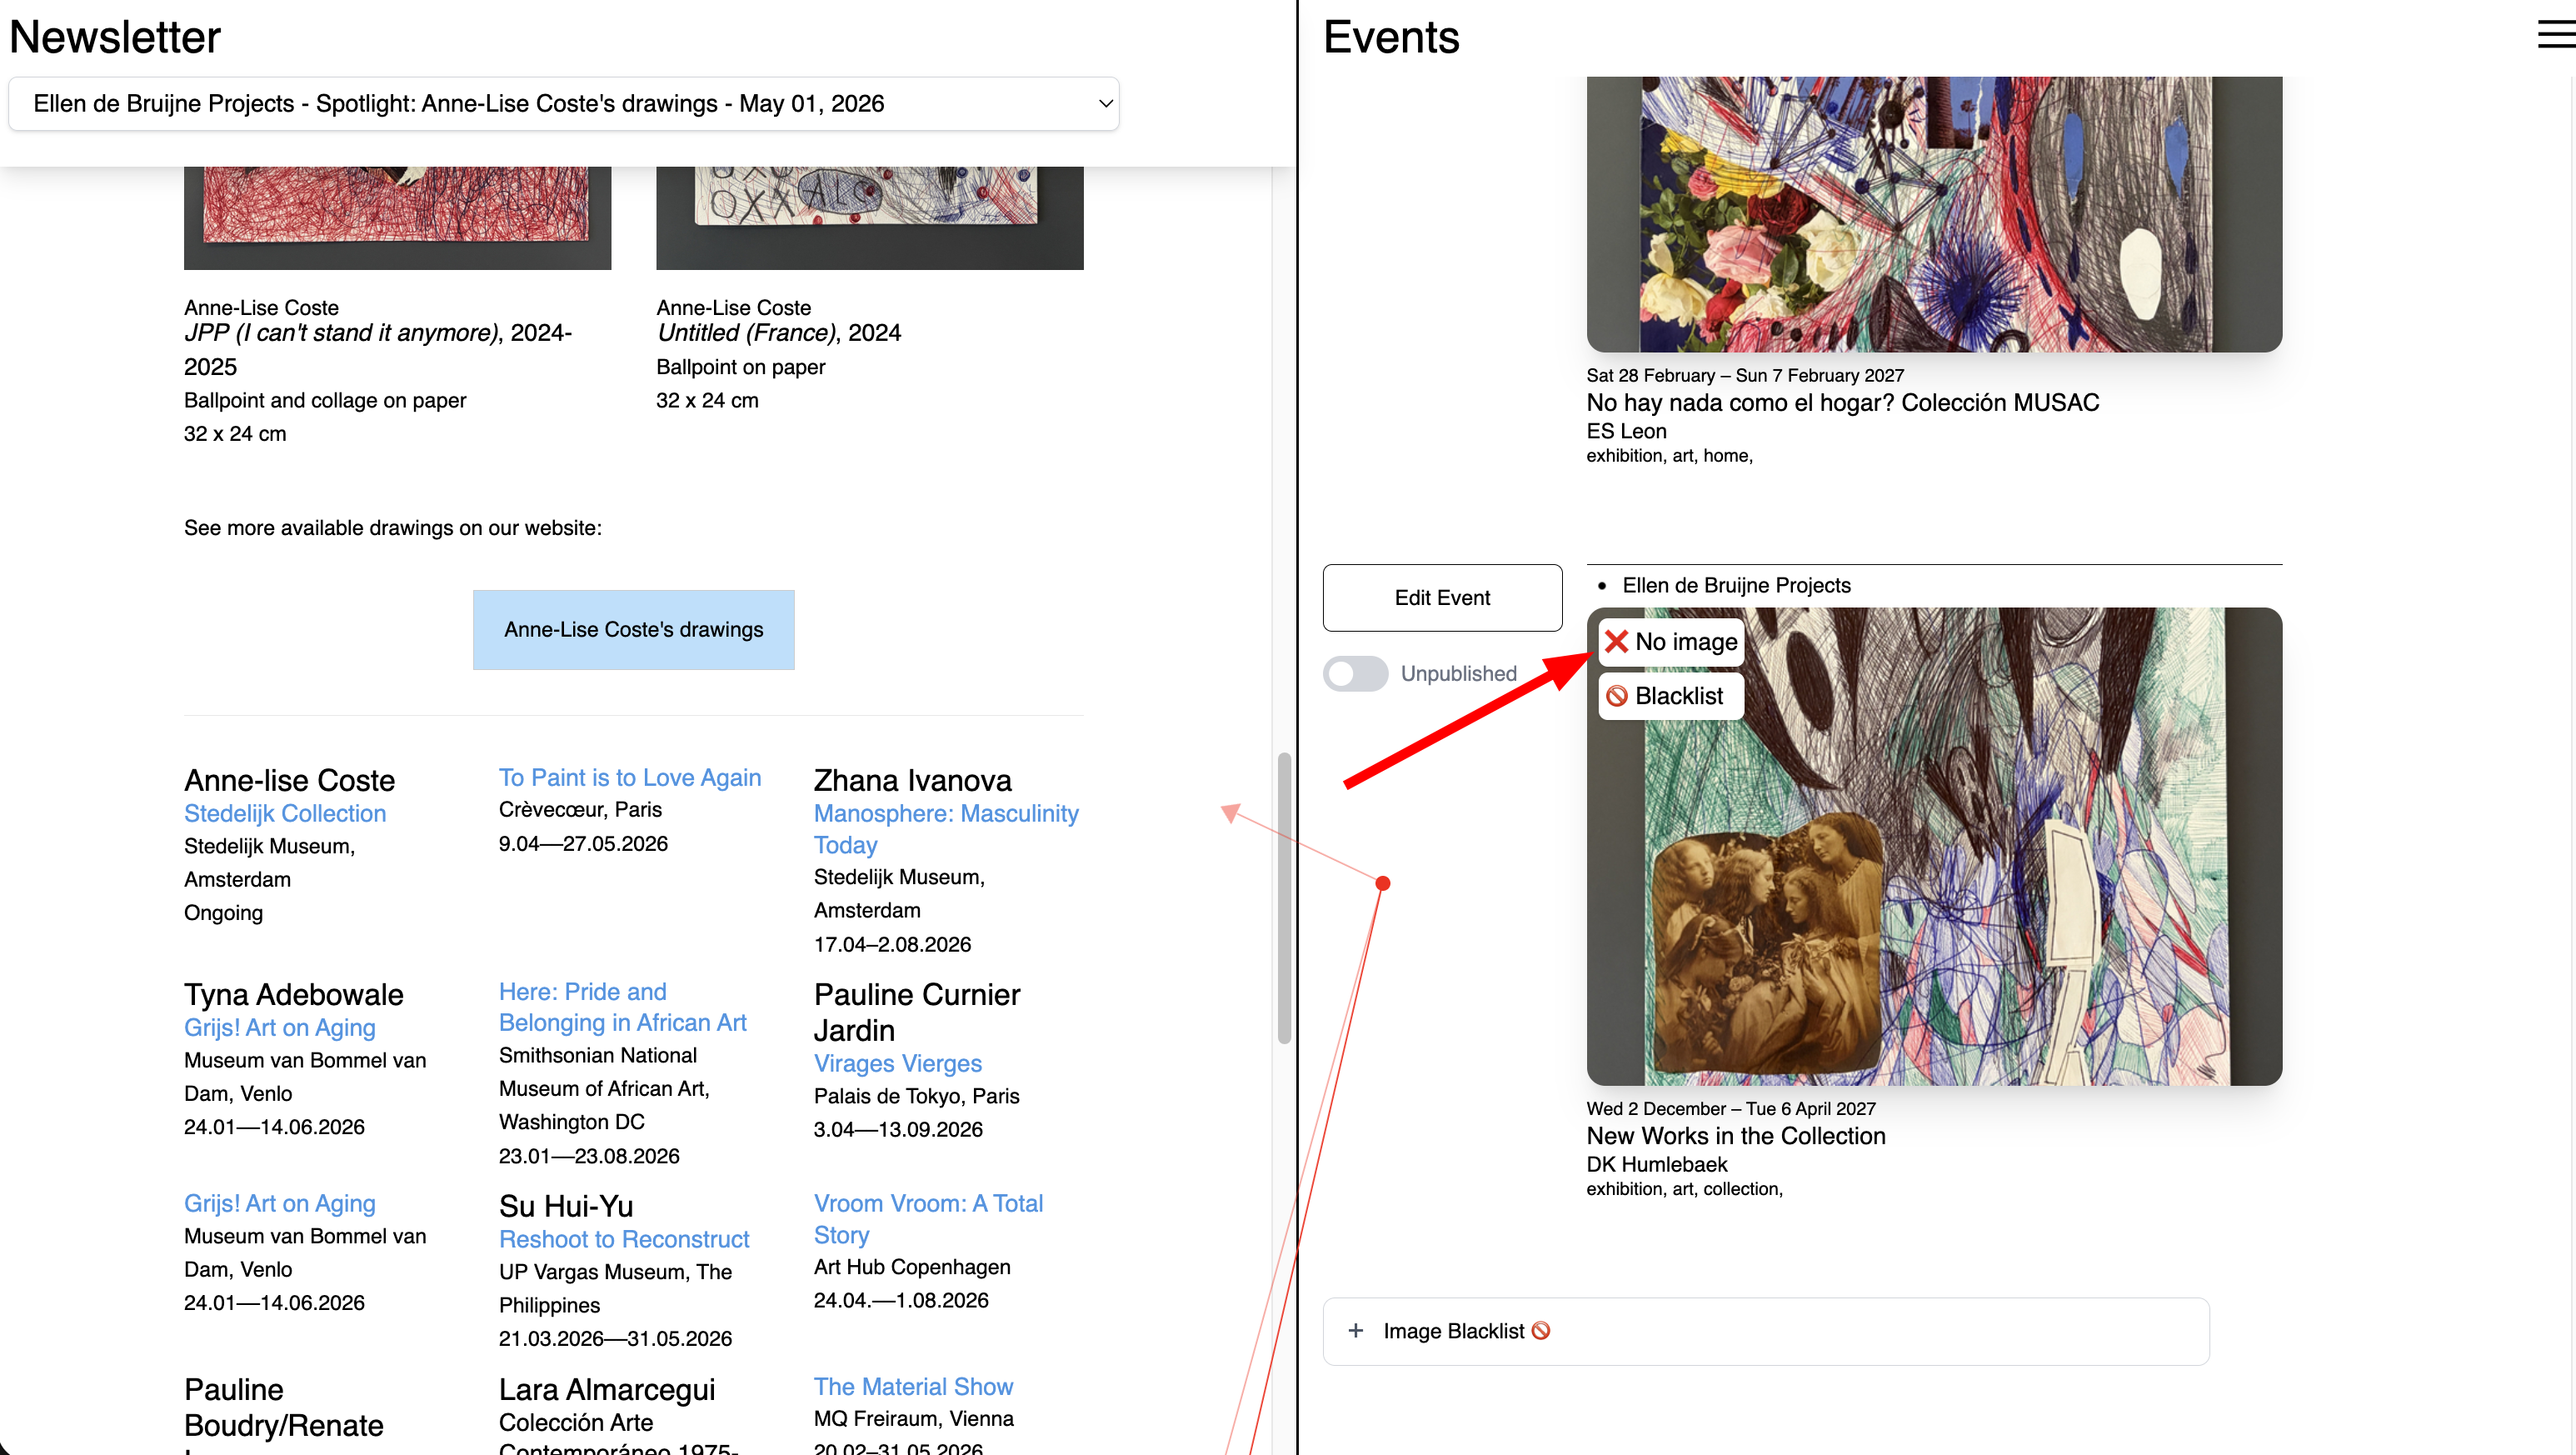
11. No image
"No image" is a quicker way to have no image for this event, rather than clicking "Edit Event"
12. Dashboard
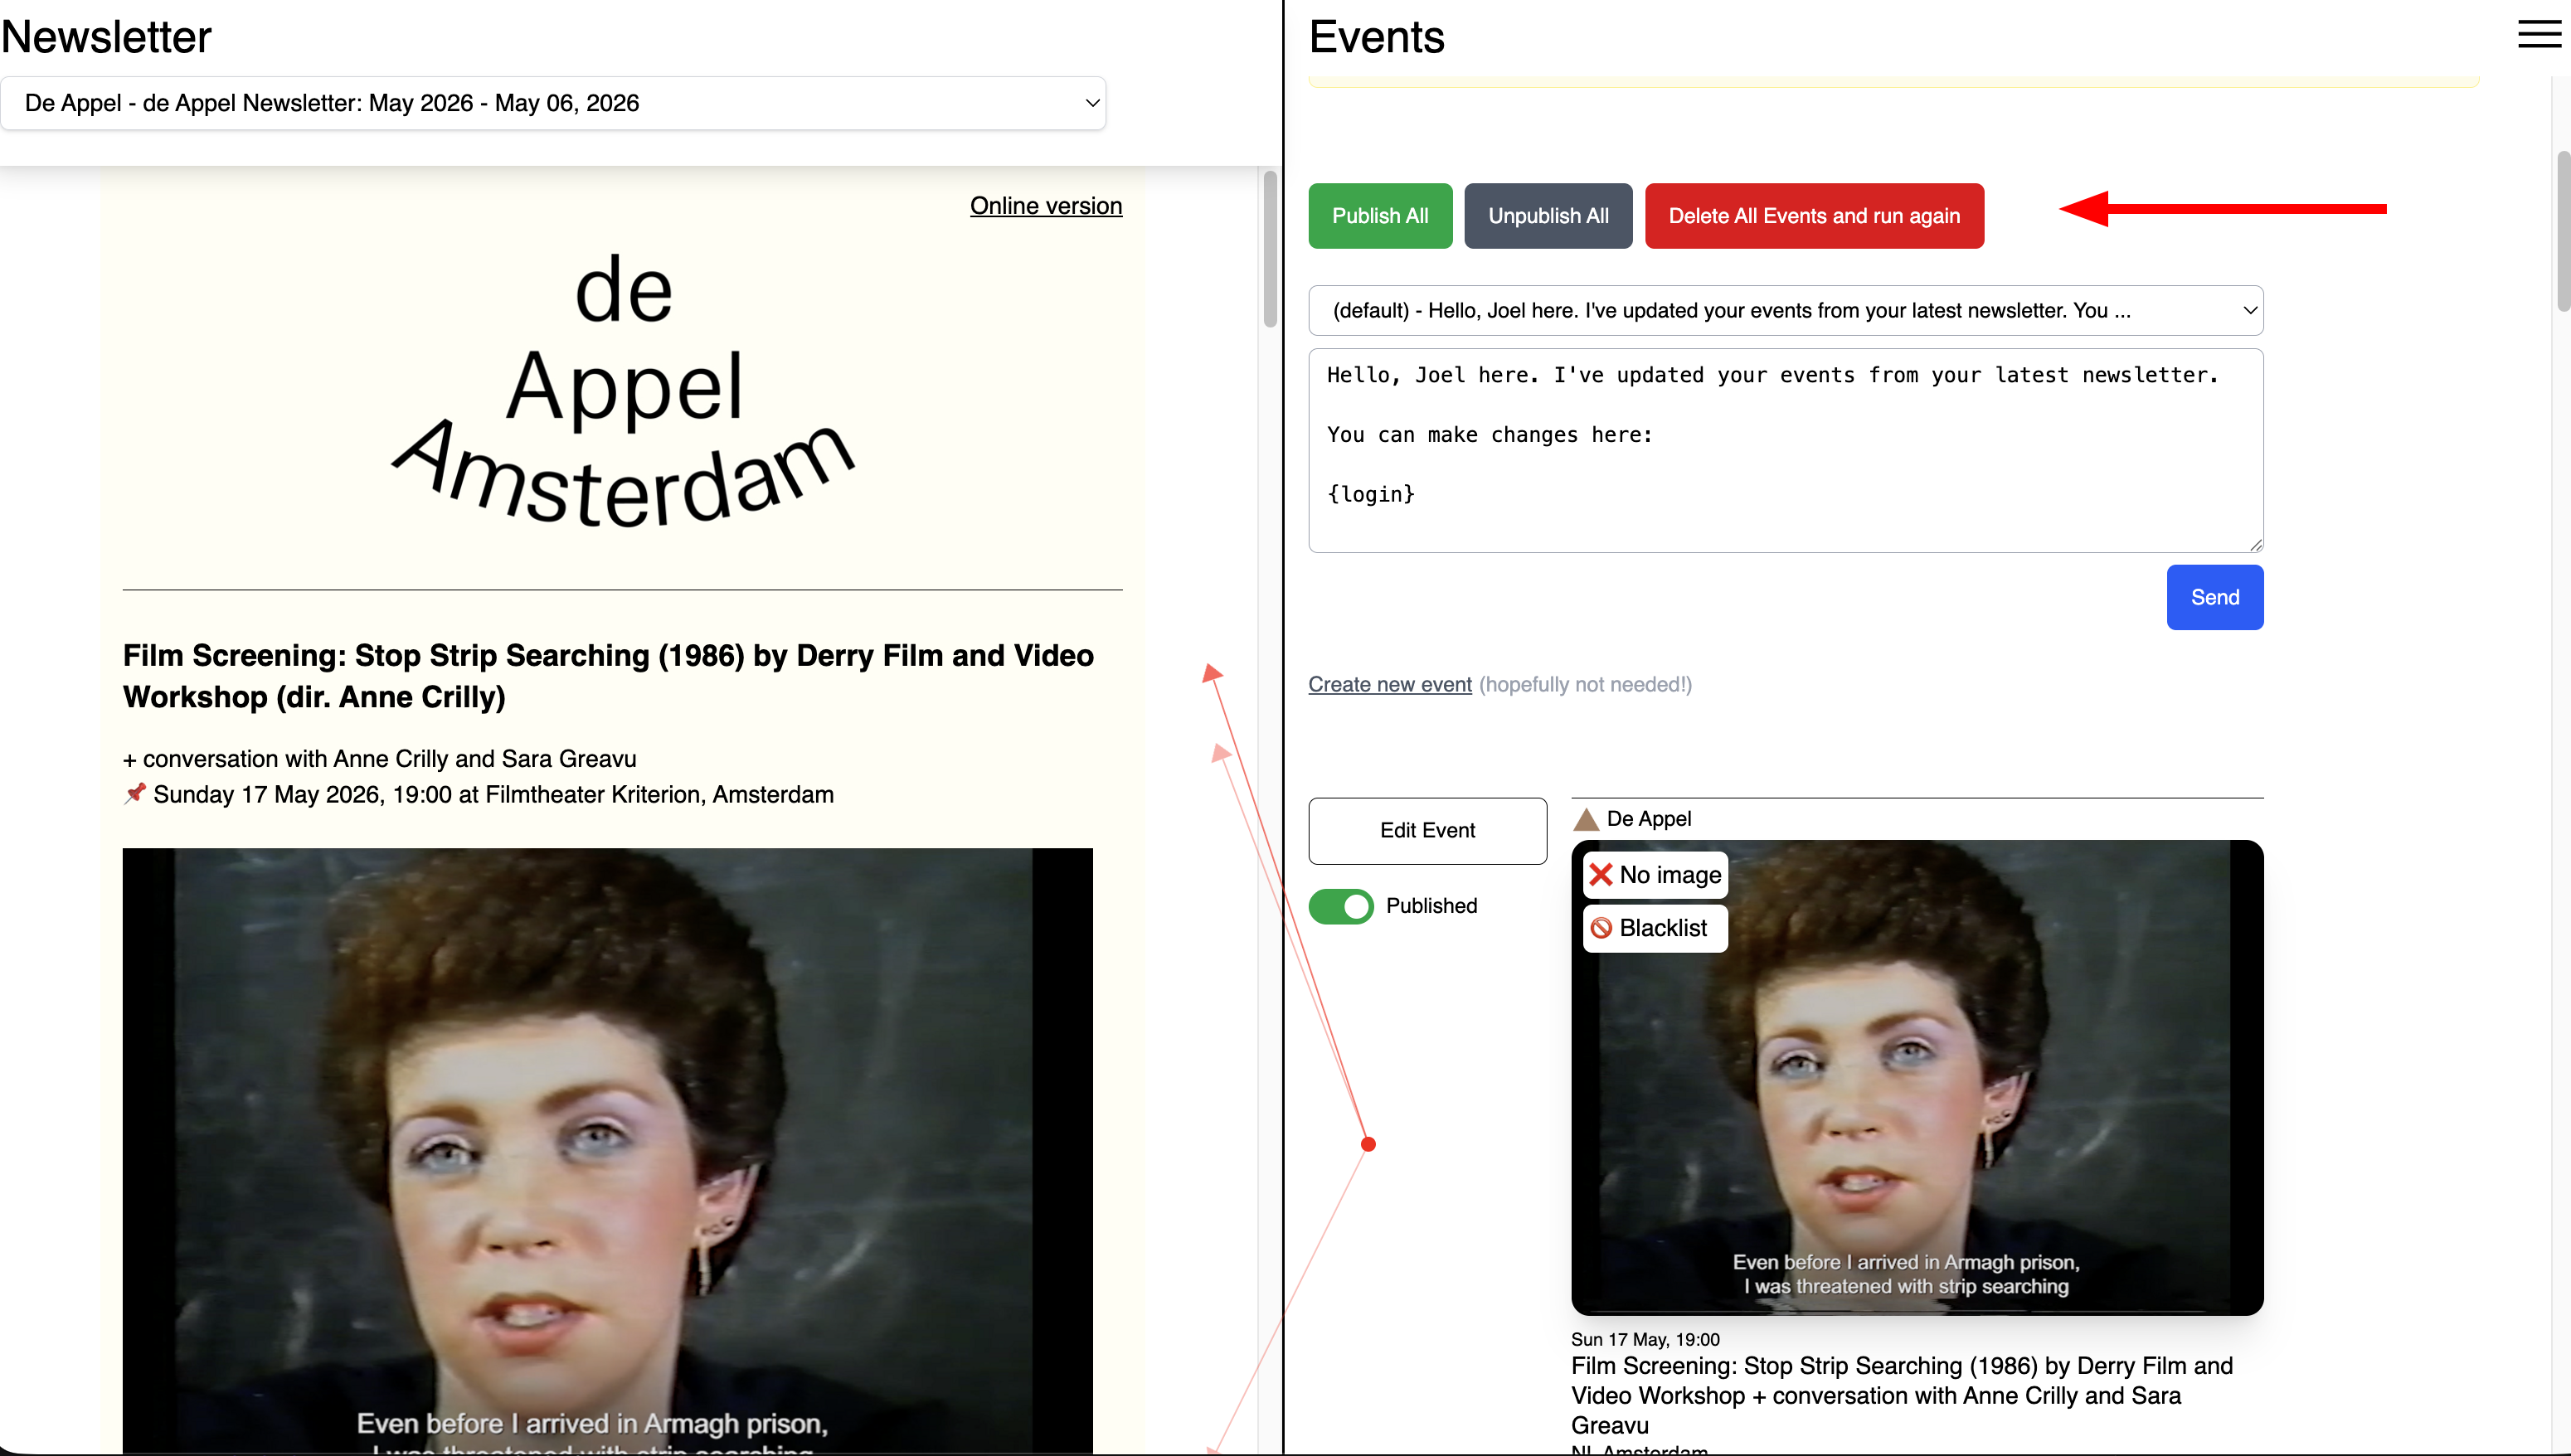
This red button will run this newsletter again through the LLM.
13. Send
Send an update to all the editors for this newsletter.
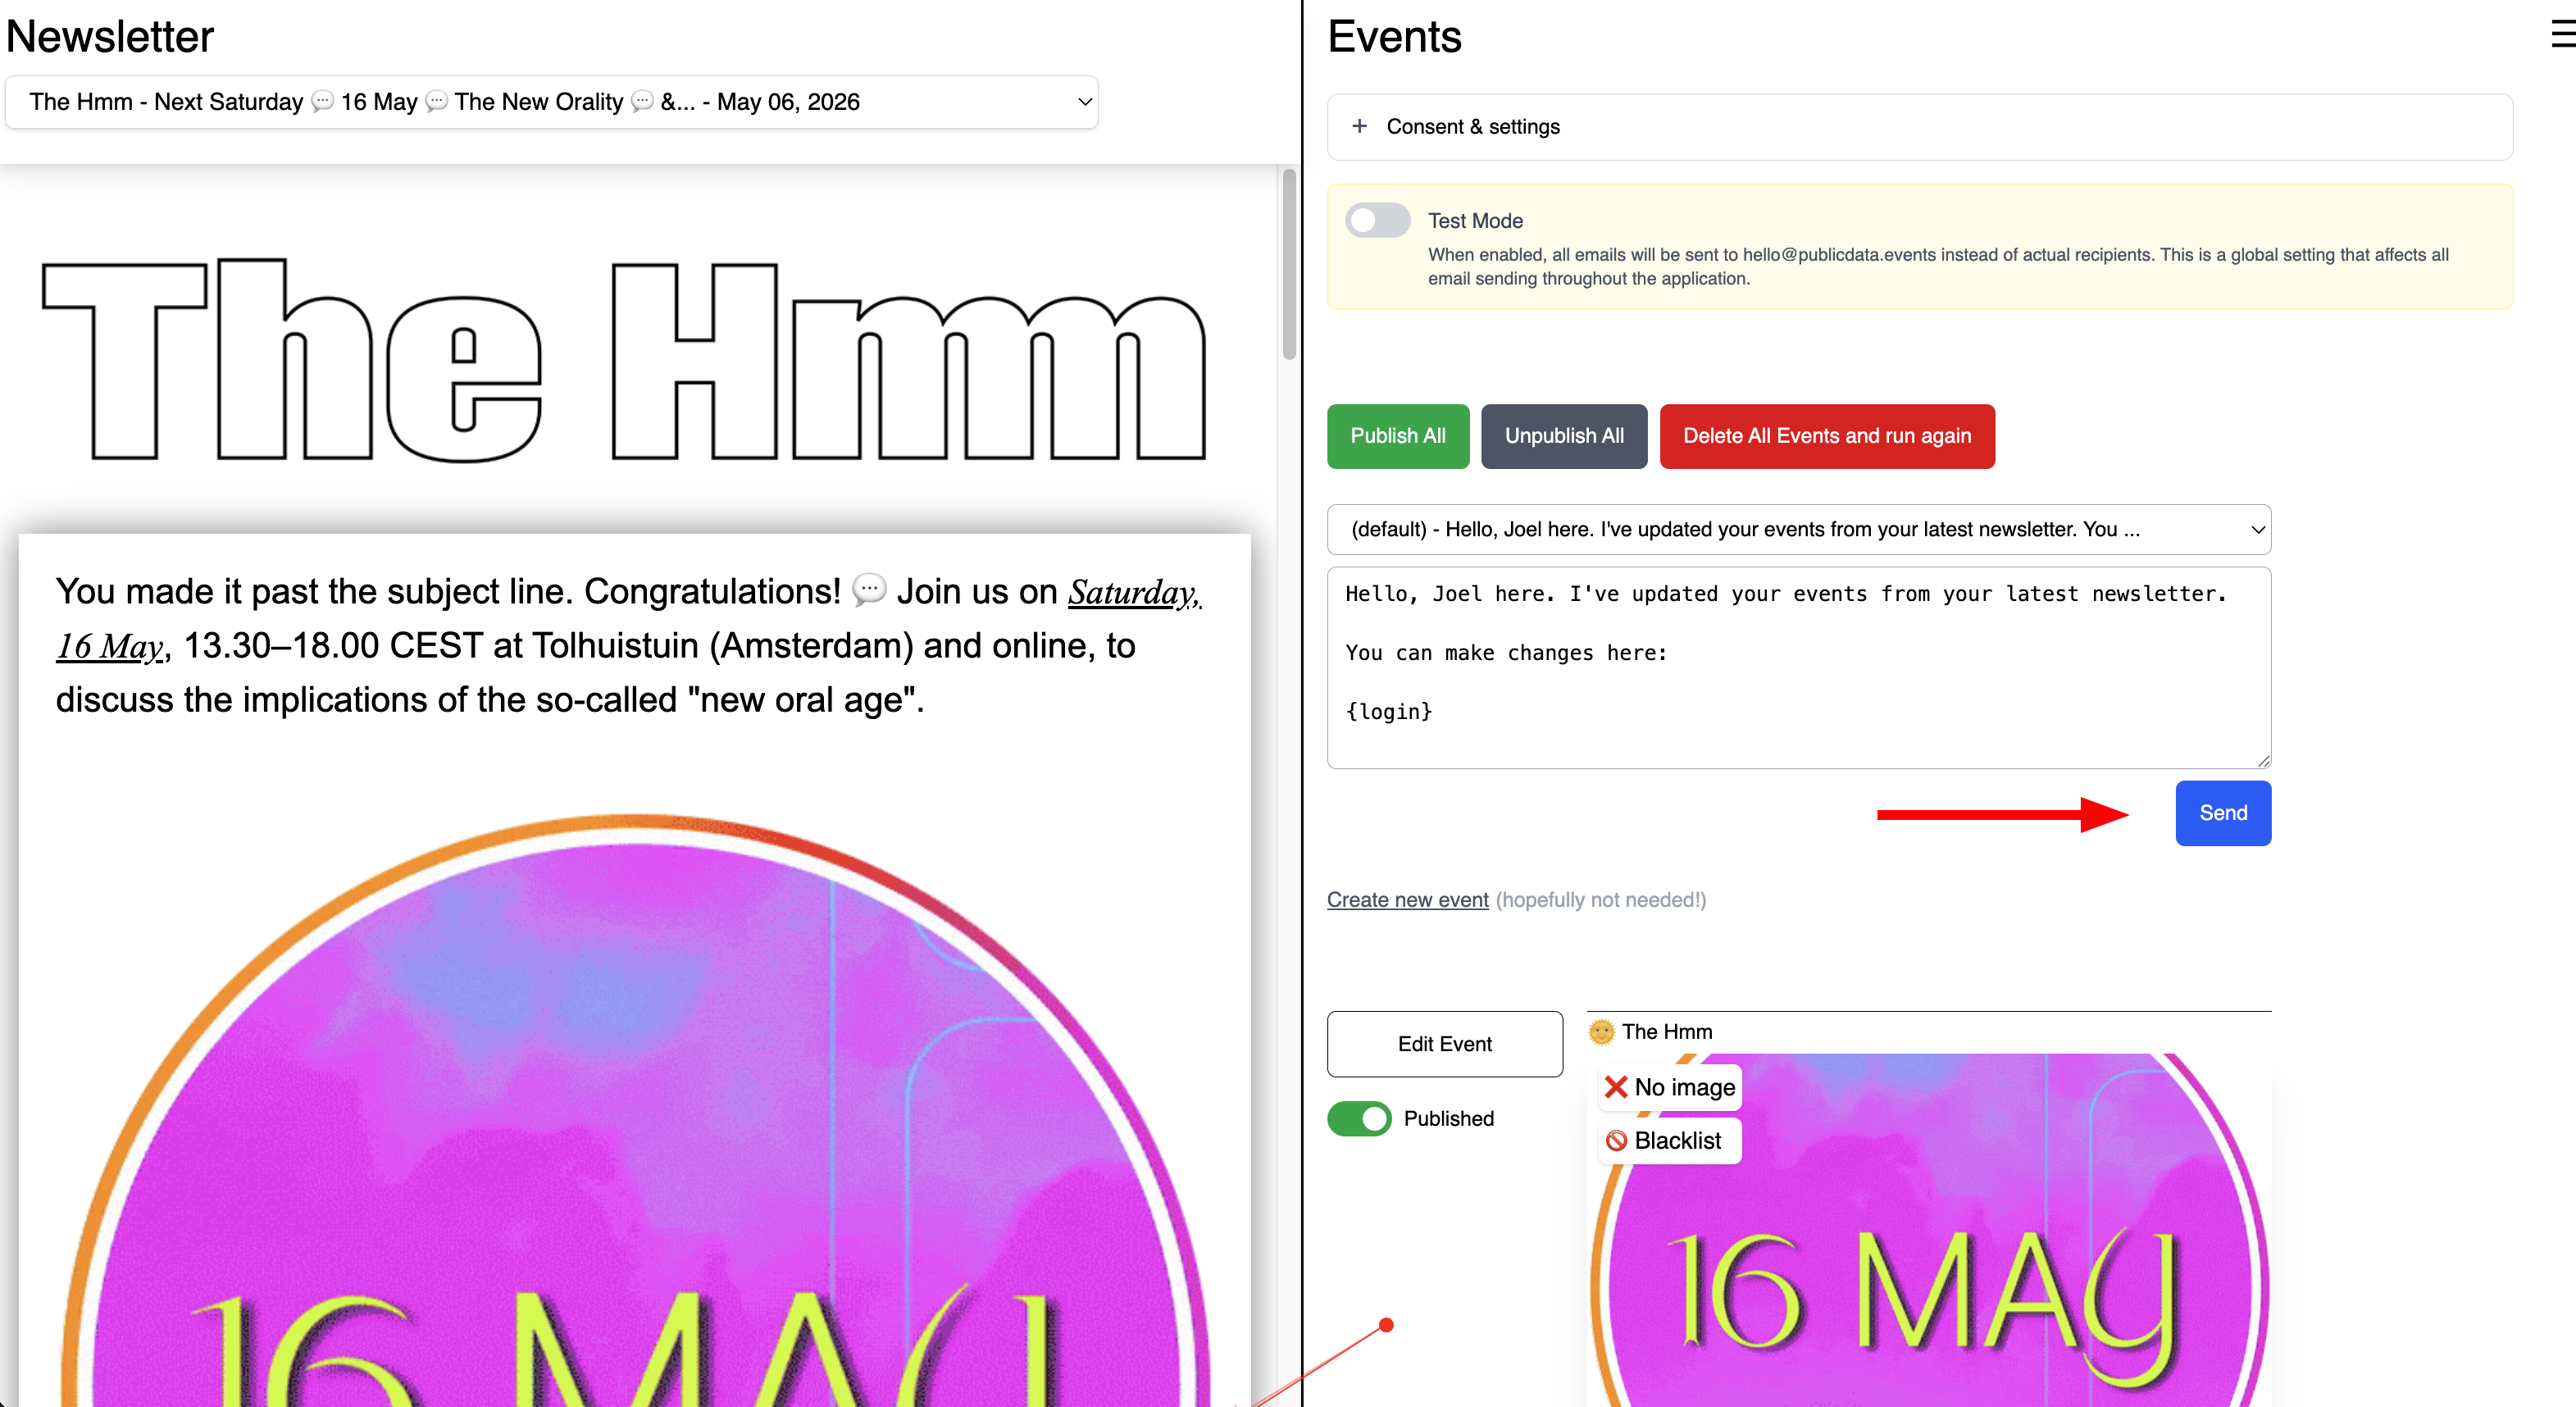
14. link
They'll get a link that logs them in to the same interface